

Learning how to install panels on wall can help you upgrade a room with a cleaner, more modern finish. Wall panels are a practical way to add texture, depth, and style without needing a full renovation.
This beginner-friendly guide explains the basic process for installing decorative wall panels at home or in a commercial interior. It is designed to help you understand the tools, preparation, fitting steps, and finishing details needed for a neat result.
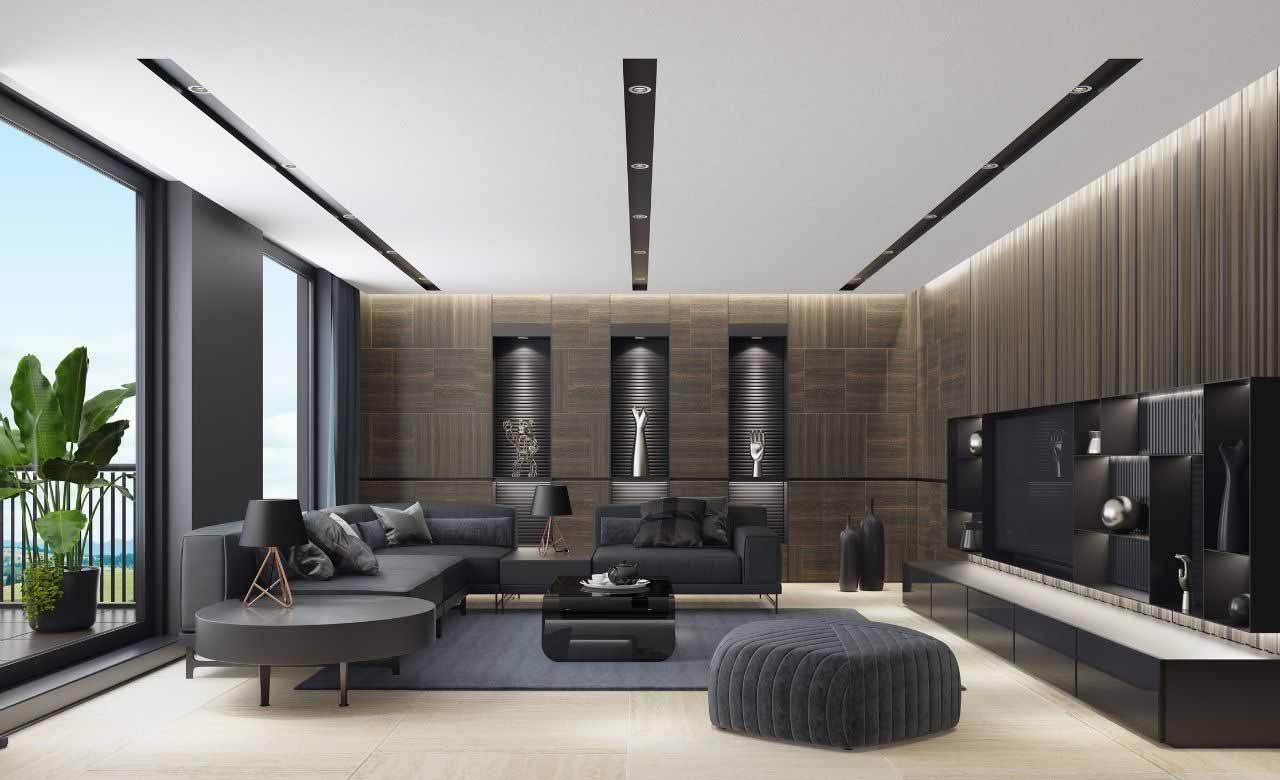
Wall panels can quickly change the look of a plain wall. They are often used in living rooms, bedrooms, offices, reception areas, retail spaces, and TV feature walls because they create a more finished and intentional design.
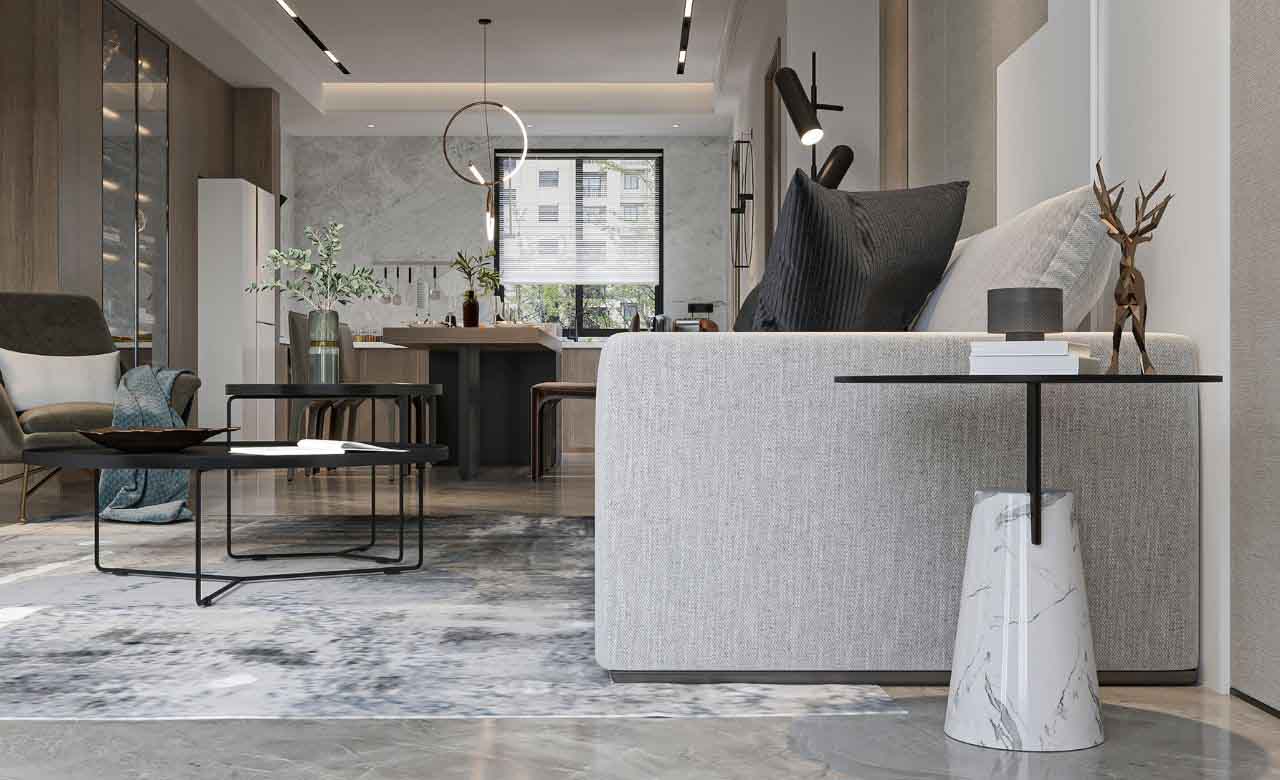
Many homeowners and designers choose modern wall panels because they can add style without making the space feel too busy. They also work well with different finishes, including wood-inspired textures, marble effects, leather-look panels, and contemporary 3D designs.
Before installing panels, it is important to check the condition of your wall. A clean, dry, and even surface helps the panels sit properly and reduces the chance of gaps, lifting, or uneven alignment.
If you are planning a luxury interior project in Lakewood, NJ, New Jersey, or nearby areas, proper preparation is especially important for high-end residential interiors and commercial interiors. The final look depends heavily on accurate measuring, clean cuts, and careful fitting.
The tools you need may vary depending on the type of panel and the wall surface. Always check the manufacturer’s installation guidance before starting.
For more detailed design planning, many people compare standard flat panels with modern 3D wall panels before choosing a style. The right choice depends on the room size, lighting, wall condition, and the type of finish you want.
The first step in learning how to install panels on wall surfaces is accurate measurement. Measure the full width and height of the wall, then calculate how many panels you need.
It is helpful to measure more than once to avoid mistakes. If your wall has sockets, switches, windows, doors, or corners, mark these areas clearly before cutting any panel.
Before applying adhesive, place the panels against the wall or lay them on the floor to plan the layout. This helps you see how the pattern, lines, or texture will look once installed.
For feature walls, start from the centre of the wall and work outward when possible. This can help keep the design balanced, especially when installing decorative wall panels behind a television, bedhead, reception desk, or display area.
Some panels have a grain, texture, or 3D profile that must follow a specific direction. Check each panel before installation so the design flows naturally across the wall.
This is especially important for wood-look panels, fluted panels, and modern decorative finishes. A small direction mistake can make the wall look uneven once the panels are fully installed.
A smooth and clean wall gives the adhesive a better surface to hold onto. Remove dust, loose paint, grease, old wallpaper, nails, and anything that may stop the panel from sitting flat.
If the wall has holes or uneven areas, repair them before installation. Wall panels can hide some minor surface marks, but they should not be used to cover serious wall damage without proper preparation.
Moisture can weaken adhesive and affect the panel finish over time. Make sure the wall is fully dry before installing any decorative wall panels.
For bathrooms, kitchens, or commercial interiors with higher moisture levels, choose panels and adhesives suitable for those conditions. This helps improve durability and reduces the risk of lifting or movement.
Once your measurements are confirmed, mark the cutting lines on the back of each panel. Use a straight edge and pencil to keep the line clear and accurate.
Cut slowly and carefully using the correct cutting tool for the panel material. After cutting, smooth rough edges with sandpaper or a file so the panels fit neatly against corners, trims, and adjoining panels.
If the wall has electrical sockets or switches, turn off the power before working around them. Measure and mark the cut-out areas carefully so the panel fits without forcing it into place.
If you are unsure about electrical areas, it is safer to ask a qualified professional for help. Clean installation should never come at the cost of safety.
Apply adhesive to the back of the panel according to the product instructions. Many wall panel adhesives are applied in vertical lines, dots, or a zigzag pattern to create strong contact with the wall.
Do not apply too much adhesive near the edges, as it may squeeze out when the panel is pressed into place. Use enough adhesive to hold the panel securely while keeping the finish clean.
The correct adhesive depends on the wall surface and panel material. Some adhesives are designed for lightweight decorative panels, while others are made for heavier interior wall panels.
For premium finishes, always use an adhesive recommended for the specific panel type. This is important for both residential interiors and commercial interiors where long-term appearance matters.
Press the panel firmly onto the wall, starting from the planned position. Use a level to make sure the panel is straight before the adhesive begins to set.
Hold the panel in place for the time recommended by the adhesive manufacturer. Some panels may need temporary support, especially if they are larger, heavier, or installed vertically.
After the first panel is installed, continue fitting the next panels one by one. Check alignment regularly so the joins stay neat and the design remains consistent.
Small mistakes can become more visible as more panels are added. Taking time at this stage helps create a cleaner and more professional result.
Once the panels are installed, check the edges, corners, and joins. Use trim, caulk, or finishing strips if needed to create a cleaner look.
Wipe away any adhesive marks before they dry. A clean finish is especially important for luxury interior wall designs, TV feature wall panels, and modern decorative wall solutions.
Do not hang heavy items or apply pressure to the panels until the adhesive has fully cured. The curing time depends on the adhesive type, room temperature, and wall condition.
Following the recommended drying time helps the panels bond properly. This can improve the strength and long-term appearance of the installation.
Installing wall panels is simple when the process is planned properly. However, beginners often make small mistakes that can affect the final result.
Taking time with preparation and layout can help avoid these issues. A careful approach is often the difference between a basic finish and a polished interior feature.
Wall panels can be used in many areas of the home or workplace. They are popular because they can improve plain walls while supporting a more refined design style.
In modern interior projects, wall panels are often used to create visual focus without relying on heavy decoration. This makes them useful for both compact rooms and larger luxury interior projects.
The best wall panel style depends on the mood, function, and size of the space. Smooth panels can create a clean and simple look, while textured panels can add depth and movement.
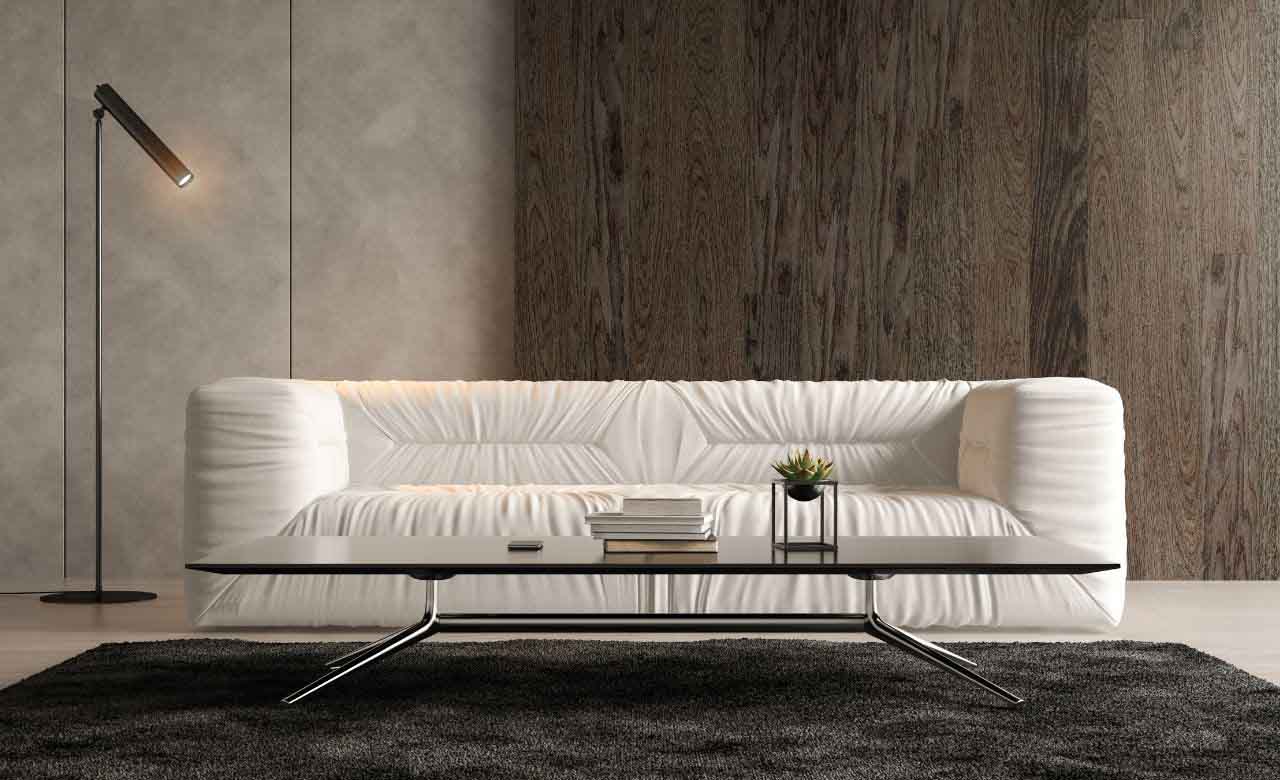
Wood-inspired panels are often used for warmth and natural character. Marble-inspired, metallic, and leather-effect finishes can create a more refined look for luxury residential interiors and commercial interiors.
| Panel Style | Best For | Design Effect |
|---|---|---|
| Wood-inspired panels | Living rooms, bedrooms, offices | Warm, natural, and timeless |
| 3D wall panels | Feature walls and reception areas | Textured, modern, and eye-catching |
| Marble-inspired panels | Luxury interiors and statement walls | Elegant, polished, and premium |
| Metallic panels | Commercial interiors and modern spaces | Sleek, bold, and contemporary |
| Leather-effect panels | Lounges, offices, and boutique interiors | Soft, refined, and sophisticated |
For beginners, it is best to choose a panel style that matches the room’s existing colours, lighting, and furniture. This helps the finished wall feel connected to the full interior design.
Most decorative wall panels are easy to maintain with regular light cleaning. A soft cloth is usually enough to remove dust and keep the surface looking fresh.
Avoid harsh chemicals unless the panel manufacturer confirms they are safe to use. For textured panels, clean along the grooves or raised areas to prevent dust from building up over time.
Understanding how to install panels on wall surfaces starts with careful planning, accurate measuring, and proper wall preparation. When each step is done correctly, wall panels can create a clean, modern, and long-lasting design feature.
Whether you are upgrading a home, office, retail space, or luxury interior project in New Jersey, the right wall panels can add depth and character to the room. Start with a clear layout, use the right materials, and take your time with each step for the best result.
The easiest way is to measure the wall, plan the layout, prepare the surface, cut the panels, apply the correct adhesive, and press each panel into place carefully.
Beginners should work slowly and check alignment often with a level to avoid uneven joins.
Many lightweight decorative wall panels can be installed by beginners with basic tools and careful preparation.
For large panels, complex layouts, electrical cut-outs, or premium commercial interiors, professional installation may be the safer option.
Yes, wall panels can often be installed over painted walls if the surface is clean, dry, smooth, and stable.
Loose paint, dust, moisture, or uneven areas should be repaired before installation to help the adhesive bond properly.
Use an adhesive that is suitable for the panel material and wall surface.
Always follow the panel manufacturer’s guidance because different materials may need different adhesive types.
Yes, modern wall panels can work well in small rooms when the design is chosen carefully.
Lighter colours, vertical lines, and simple textures can help the space feel cleaner, taller, and more open.