
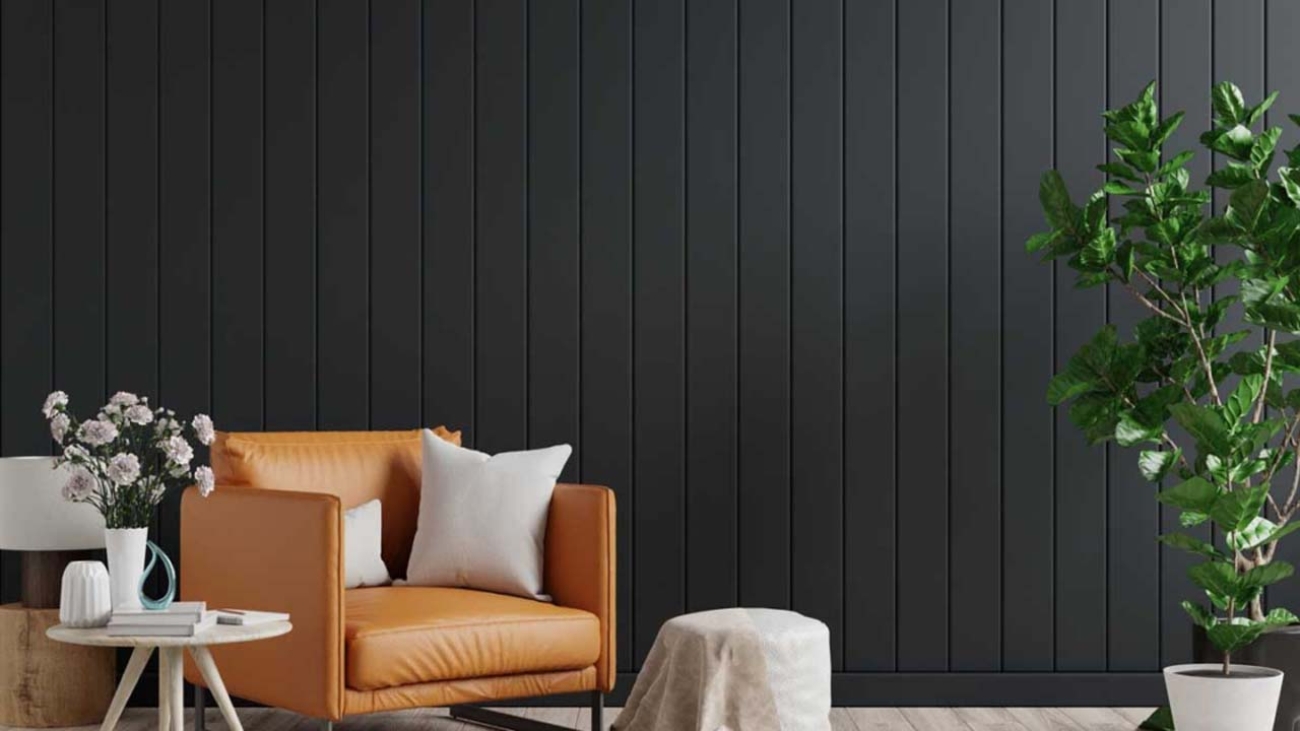
Changing your wall panels starts with thinking about how you want them to look in the end. Do you want to keep the classic grooves, or do you want a flat wall with no lines at all? Each way needs its own way to get ready. This makes sure the painted wall looks great.
Picking the best option is all about your style and how your room looks. You can choose to fill the grooves or keep them as they are. No matter what, using the right paint to put on a good coat of paint is important. The steps below will show you how to do the project. You will go from checking the wall to finishing it with a final touch of paint.
1. Assess the Type and Condition of Your Wall Paneling
Before you even think about paint colors, the first step is to understand what kind of paneling you’re working with. Surfaces can range from solid wood to veneer or even fake wood paneling. Decades of cleaning products or old finishes can disguise the material, so you may need to do a little investigating.
To identify your wall panels, try to find an exposed edge, perhaps by removing a light switch plate or a small piece of baseboard trim. Real wood will have grain that runs through the entire thickness, while veneer is a very thin layer of wood over a composite material. Knowing this is crucial because it dictates how you should prep and paint the surface. Misidentifying your material can lead to damaging the surface.
Here’s a quick guide to different paneling types:
Paneling Type | Characteristics | Key Consideration |
Solid Wood | Grain runs through the entire panel, often heavier and more durable. | May bleed tannins, requiring a stain-blocking primer. |
Veneer | A thin layer of real wood over particleboard or fiberboard. | Be very careful not to sand through the thin top layer. |
Laminate/Fake Wood | Often has a glossy, artificial look and a printed grain pattern. | Requires a high-adhesion primer designed for slick surfaces. |
2. Clean and Prep the Surface Thoroughly
Cleaning is very important when you get ready to paint wall paneling. Over time, the walls pick up dust, grease, and grime. This stuff makes it hard for new paint to stick the way it should. Make sure to get rid of all this buildup, so the finish will last and look good. Start by dusting the walls. Use a dry microfiber cloth for this step.
After dusting, do a deeper cleaning. You can use a cleaner that cuts grease or just mix warm water with dish soap. Wipe over the whole wall paneling from top to bottom with a sponge. Look closely at the paneling in kitchens or busy places in your home. When you are done, go back over the walls using a clean, damp sponge. This helps get rid of any soap that is left behind.
Check that your paneling is totally dry before you continue. You should also take time now to:
- Look for nail holes or small cracks in the paneling.
- Check the seams where each panel goes together to see if they need fresh caulk.
- Feel and look over the surface for drips or rough spots. These may need a little sanding with sandpaper.
3. Fill Grooves and Patch Imperfections for a Smooth Finish
If you want to have a modern, flat wall, you need to fill in the grooves in the paneling. Doing this will make the wall look like the usual drywall. The best thing to use for this is called joint compound or drywall mud.
Take a putty knife and use it to spread joint compound right into the grooves. Press hard so that you fill them all the way. Scrap off any extra so the compound is even with the rest of the panel surface. You might need to add more than one layer because the compound can shrink while it dries. Let every layer dry before you put another on top. This is also a good time to fill nail holes or any dents you see.
For a good finish, keep these tips in mind:
- Put a coat of primer on before you fill the grooves. This will help the next layers stick better.
- Use caulk in the seams between the panels. Caulk is more flexible than joint compound, so it can handle small movements without cracking.
- When the joint compound or drywall mud is dry, sand it smooth. This makes it blend in with the rest of your wall.
4. Sanding: When and Why It’s Needed
Sanding is a step you should not skip, especially if your paneling is shiny or has a glossy finish. The paint will not stay well on a smooth and slick paneling. Sanding gives the surface enough roughness for the primer and paint to stick. Doing this makes the painted paneling last longer and helps it not peel off or chip.
Take fine sandpaper, usually between 150 and 220 grit. Gently sand the whole paneling surface. You do not need to take off all of the old finish; just make the shiny layer look dull and get a more even, matte look. If you filled any grooves or holes before, sand those areas too, so there is a smooth surface.
Wear goggles and a mask to protect yourself from the dust when you do the sanding. After sanding, vacuum the paneling well and use a tack cloth or a damp rag to wipe all dust off the surface. Clean up every bit of the dust so the paneling is ready before you start priming.
5. Priming Wall Paneling for Best Results
Using a primer is one of the most important things to do when you want to paint wall paneling. A good coat of primer does a few things. The primer can keep stains and wood marks from showing through. It helps make the paint look smooth and the color true. Primer also helps the paint stick well to the panel.
When you skip this step, you often get paint that looks spotty and does not last long. The best choice of primer depends on the type of paneling you have. If you have a shiny plastic or a thin wood layer, you should use a high-stick primer like Insl-X® Stix®. With real wood like cedar or redwood, which have a lot of wood marks, you need an oil-based, stain-blocking primer so your paint does not turn a different color. If your paneling is normal hardwood, a good latex stain-blocking primer will do the job.
The way to put on the primer is easy. Take a brush and use it for the grooves and tight places. Use a roller when you work on the flat areas. Put on a thin and smooth coat of primer. When it is dry, you may need a second coat, especially if you filled in the grooves or if you have very dark wood. Doing the right priming gets your paint ready to look good and
6. Choosing the Right Paint for Different Panel Types
After you finish prep work, it’s time to pick the right paint. You want the best option that can stand up to daily use, as wall paneling is often in busy areas. It’s a good idea to go with a good interior paint made for trim or kitchen cabinets since these paints last longer.
You have a few types of paint to choose from. For wall paneling, waterborne alkyd paints like Benjamin Moore Advance® give a strong finish that looks almost like new furniture. Modern latex paints are also worth trying. They clean up easily and do not smell much. Good latex paints like Aura® Interior or Regal® Select Interior fight off mildew and bring out deep color for paneling.
When you choose the right paint, think about the finish and the different colors you want.
- Gloss or Semi-Gloss: These make your walls shine and are easy to wash, which is good in bathrooms or hallways with a lot of foot traffic.
- Satin or Eggshell: These give a smooth look, last well, and work great in living rooms or bedrooms.
- Matte: This gives a flat, new style but doesn’t last as long and can be tough to keep clean.
7. Painting Techniques for an Even, Modern Finish
With your surface ready and your paint chosen, you can start to put on the first coat of paint. Good painting techniques help you get a smooth look and stop drips or brush lines. Begin by “cutting in.” Use a brush to paint the corners, edges, and places near the trim or ceiling. If the paneling has grooves, paint inside them with your brush first.
Once you finish cutting in, use a roller to cover the bigger, flat spaces on the wall. Work in small areas and roll in a “W” shape, then go back with straight strokes that overlap a bit. This helps mix the rolled parts with the brushed ones so everything looks even and smooth.
Let the first coat of paint dry all the way, following what the manufacturer says. You will need a second coat to make the color strong and full, which is important when you paint a light color over dark paneling.
- Make sure the first coat is dry before you begin the second coat.
- Lightly sand any spots or bumps between the coats.
- Allow the last coat to dry for at least 24 hours before placing furniture or decorations next to the wall.
Knowing if you can paint wall paneling is the first step. However, to achieve a good-looking finish, you also need to avoid common mistakes. Many people start this job and try to do it too fast. Then, they are not happy with how the wall paneling turns out. It is important to take your time. Pay close attention to each part, and make sure to get all the details right. This way, your walls look good and the new coat of paint lasts longer.
There are some mistakes that many people make. Not getting the wall paneling ready or picking the wrong stuff to use can mess up your work. If you miss cleaning in the grooves or put the first coat of paint on top of dirty spots, it will not look good in the end. You want to be proud of your wall paneling when it’s done. Let’s look at the most common things people get wrong and talk about how to not make these mistakes.
1. Skipping Proper Cleaning and Prep
The biggest mistake that most people make is to rush or skip prep work. You may want to start painting right away. But if you put paint over a dirty or unprepared surface, you are going to have problems. Grease, dust, or grime on the wall paneling will keep the primer and paint from sticking properly. This can make the paint peel, bubble, and chip after some time.
You must always do good cleaning first. Use a degreaser to wash the walls and get rid of buildup. Also, don’t ignore fixes for cracks, holes, or bad caulk in the seams. These spots will stand out more with a fresh coat of paint, not less.
Think of getting ready as the base for the job. If you don’t do this step well, it can harm all of your work, even if your paint is costly. Taking an hour or two to clean and fix things will help you avoid big problems later. You may not want to wait, but it means you won’t need to redo the whole paneling project when things go wrong.
2. Using the Wrong Primer or Paint
Picking the wrong primer or paint is a mistake that can ruin your work. Not every primer and paint is made the same. If you use the wrong one for your paneling, you might see problems like bad grip, stains, or a finish that does not last. For example, if you use a regular latex primer on real wood like cedar, the stains in the wood can come through your paint coat.
You need to choose the right paint and primer for the material of your paneling. In the case of glossy surfaces, you will need a primer that helps paint stick better. For real wood, you may need one that blocks out stain. Sometimes, one single coat of primer is not enough. This is true if you are covering dark paneling or have put filler in the grooves.
Using cheaper and low-quality paint seems like a way to save money, but it does not work out well. You often need to use more coats to cover a space, and it will not handle cleaning or daily use as well as better paints. When you spend on good, high-quality products at the start, you get a good result that lasts for a long time.
3. Overlooking Grooves and Texture Issues
The grooves in the wall paneling can make painting harder than usual. If you want to keep the grooves, do not skip painting inside them. If you only use a roller, the paint will miss the inside of the grooves or look thin, making it seem messy and not done well. You should use a brush for the grooves before you roll paint over the flat parts.
If you plan to go for a smooth surface, you need to fill the grooves the right way. One common mistake is putting on a single thick layer of joint compound or drywall mud. This can crack when it dries. Instead, apply two or three thin layers. Let each layer dry fully, then sand it before putting on the next. A putty knife works well for spreading and smoothing the edges of the compound, making the panel look even.
Failing to address these texture issues or ignoring them will result in a wall that looks unappealing and does not meet your expectations. Whether you keep the grooves in your paneling or hide them for a flat, smooth surface, being careful with each step is the key to getting a nice look.
Add a Comment