Key Highlights
- Take a look at the top wall trim designs that are changing high-end homes in 2025.
- Find out how crown molding and simple trims add more flair to your rooms.
- Learn how metallic touches and shapes on your accent wall make it look modern.
- See how wainscoting and fluted wall molding can lift living rooms and other spaces.
- Get to know the new trend of bright and earth-friendly luxury wall panels.
- Discover custom wall trim choices that fit well in high-end homes in Lakewood, NJ.
Introduction
Your walls are more than just parts of the house. They can show your style and help a room feel special. The right wall trim does more than look nice. It adds visual interest and depth. Wall molding can also make the room feel richer and give it a feel that paint alone can’t create. A lot of interior designers are trying different types of wall trim for 2025. These ideas bring strong visual interest and make a home feel more lively and fancy.
If you like the look of wall molding, you can put in pre-cut wall molding kits by yourself. It is not hard to do, and you do not need a lot of things. First, get your tape measure and mark where you want the wall molding to be. Make sure the lines are level. This helps the wall molding look neat in the end. Lay out each piece you get from the kit and see if they fit well on your wall. If you find problems, you can fix them now.
Next, use glue or nails to put the pieces up. Keep the places where they join in a straight line. After this, put caulk in any gaps you see. Fix any holes made by nails. Then, you can paint or finish the wall molding in the way you like. Doing all this gives the wall molding a nice look. This is an easy way for people to make a wall look new and good. Wall molding puts something extra and nice on any wall in your home.
What are some excellent wall designs?
Some great wall trim designs are crown molding, shiplap, and wainscoting. These can give the room more style and visual interest. When you use different materials and colors, your walls can become the main focal point in your home. Wall trim like this helps your space look its best and feel more special.
Top Wall Trim Designs Trending in 2025 for Luxury Wall Panels

The world of interior design is now full of fresh ideas for wall trim. People want more options than just simple baseboards. The newest looks are changing how we see luxury, and you can find the best one for you with our style quiz. The new wall trim styles help you make an accent wall or add fun to your living room. They also give you great ideas for large, empty ceilings. Some styles have bold details on the ceiling. Others use soft and modern lines. The wall trim trends for 2025 are here, so you can make a strong statement in your home.
If you want to try easy wall trim DIY projects, start with picture frame molding or a basic board and batten style. You only need some simple tools and a few materials for both. But you can make your space feel new and different. These ideas work well for an accent wall in your living room. You can also use them to update empty ceilings with a good new look.
Our design team has chosen the best wall molding ideas that are going to be popular in 2025. These wall molding styles are great for those who want to change their home and add bold wall trim. You will see how luxury wall panels and smart wall trim can make your rooms feel more stylish. This is important now that the modern farmhouse boom of the 2010s is fading away, and people want something new.
If you want to do a simple wall trim project, you should have some tools ready. You need a tape measure, a level, a miter saw or miter box, a nail gun or hammer, wood glue, caulk, a caulking gun, and sandpaper. These help you make cuts that fit, get straight lines, and keep your wall trim and luxury wall panels looking neat and clean.
1. Sculpted Crown Molding for Dramatic Ceilings
Crown molding is now more than just a basic finish. In 2025, people want to see bold and sculpted crown molding that stands out in their homes. This kind of decorative crown molding has the power to catch your eye. It can make the room feel big and grand. The decorative detail at the intersection of walls and ceiling can look great and add style. You will find large shapes and patterns that really get noticed. Crown molding gives any space a fresh feel and a new look.
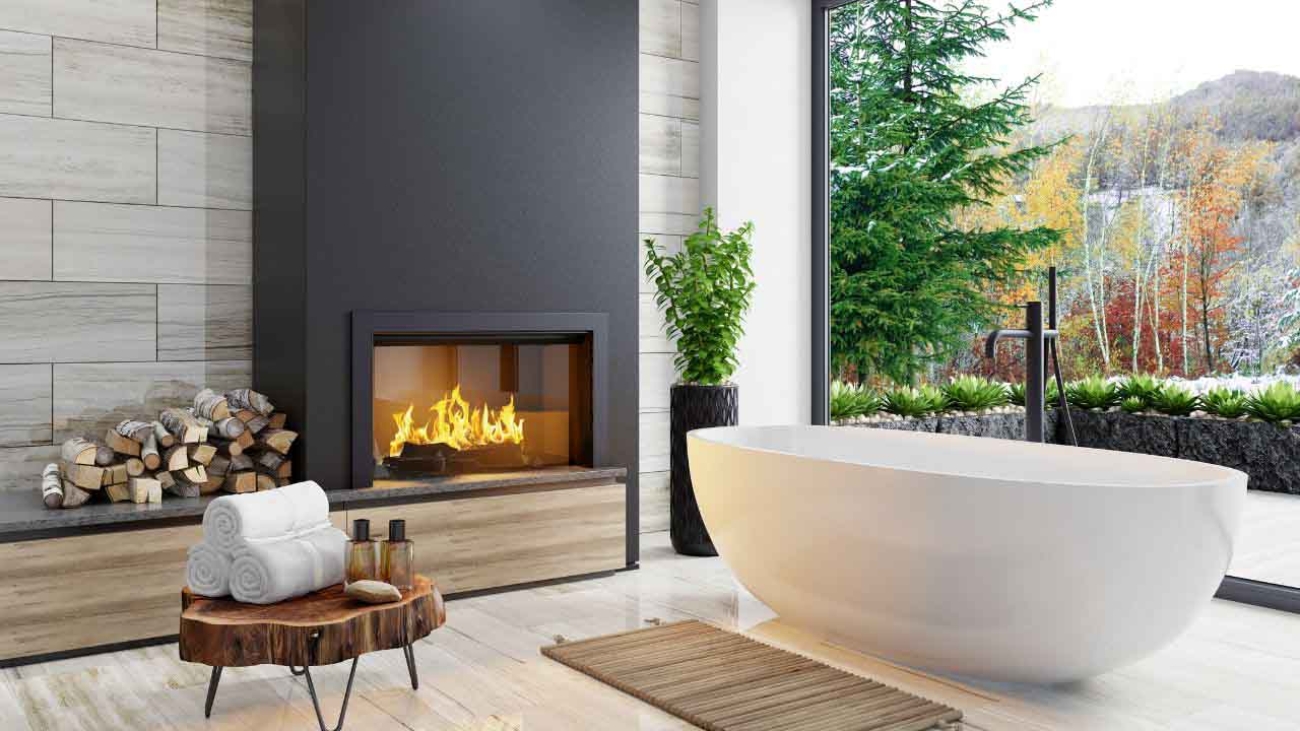
Imagine having this trend in the living room or the dining room next to the fireplace. You can use crown molding, which is one of the most common types of wall molding, where the walls meet. This wall trim frames the space and gives your home a classic feel. The use of crown molding adds charm to your living room or dining room. It can help a new home feel warm and timeless, even if it is modern.
These new wall trim designs are not like the plain, old kind. They make your walls stand out by adding visual interest. You can change these wall trim styles to fit your room. This means that even trim that looks older can feel fresh and add a touch of luxury. That is just what the Havenly designer Brady Burke says.
2. Minimalist Shadow Gap Trims for Modern Luxury
If you like to keep things clean and fresh, the minimalist shadow gap is a good way to go. The wall comes up to the ceiling or the floor with just a small break, which makes a clear and simple line. This gap stands out without needing lots of extra detail. The shadow gap gives you a modern application of wall trim.
This style is a good choice if you have a small space. It helps the ceiling feel higher. The room will feel more open, too. A shadow gap is different from a chair rail or big trim. It is simple and looks new. This is an easy way to get a picture frame effect around doors or windows. You get nice detail, but it will not feel too much for the space.
You do not need to do a lot to give your home a modern feel with wall trim. The shadow gap is a good way to show that less can be better. This style adds just the right touch to the walls. Your home gets the perfect amount of detail, and it does not feel overdone. Many people use this in nice homes to give things a tidy, clean look.
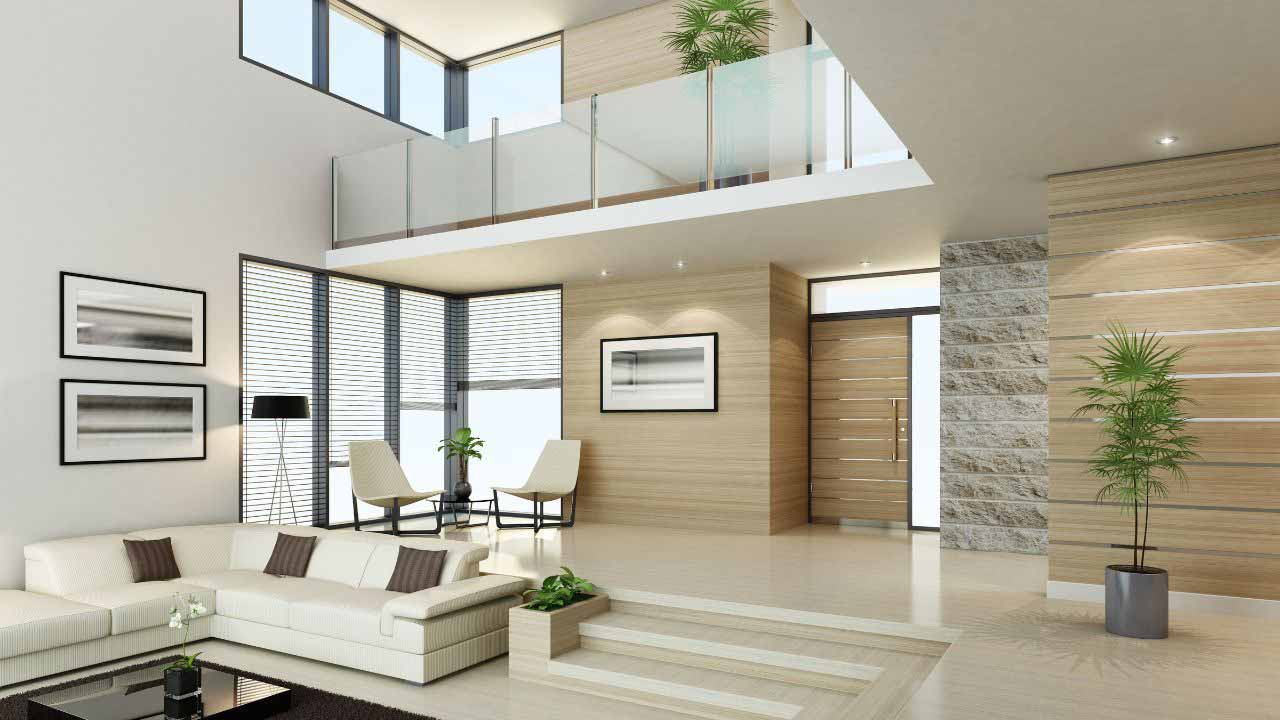
3. Metallic Inlay Wall Accent Trim for Contemporary Spaces
Add a bit of shine to your walls with metallic inlay accent trim. At this time, it’s popular to put thin strips of brass, bronze, or shiny nickel in luxury wall panels. This lets you see bold lines and shapes on the walls. The accent trim is like jewelry for the wall and makes your walls glow when light hits it. It also gives your space a touch of luxury.
This decorative touch can help an accent wall stand out. It can change a plain painted spot into a nice piece of artwork. The metallic inlay can show shapes like lines or grids. You can use it to add a bold line across or down. This is a flexible way to add shine and feel to your design.
Choosing the right wall molding style for your long hallway depends on what look and feel you want in your home. If you like a modern feel with some luxury, metallic inlays can be a good pick. This kind of wall trim makes your hallway look stylish and cool. People will notice it and remember your space.
4. Art Deco-Inspired Geometric Panel Trim
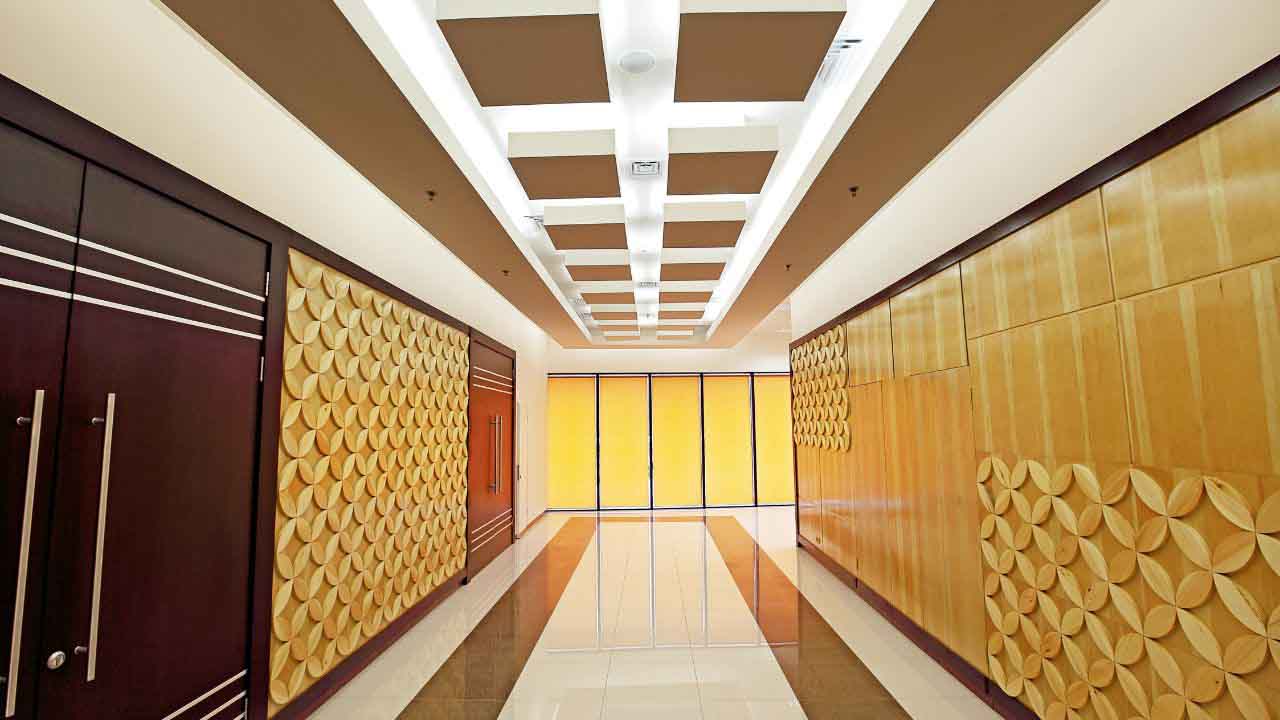
Art Deco style is here again, and people use wall trimming to give rooms a bold feel with easy shapes. They take narrow wood strips and put them in patterns on the wall. You might see sunbursts, chevrons, or patterns that come to a point. These wall molding ideas really stand out. They help make your living room or dining room feel like it has a strong focal point. It is a good way to make the space feel new and more interesting to people who come in.
These wall molding ideas are all about getting things just right and keeping them even. You can paint the decorative wood detail so that it blends in with the wall color. This gives the room a gentle feel and brings in some texture. If you use another color, the geometric pattern will stand out, kind of like what you see in an elaborate gallery wall. This way of doing wall molding adds character to the place. It will feel like the room has some history, but it will still look new and fresh at the same time.
Whether you are in a new construction in Lakewood or making changes to an older home, wall moulding is a smart way to add something special to your space. The style of Art Deco wall trim can give the room a new feel. It makes your space look like it has been chosen with care and style.
5. Classic Wainscoting Panels with Raised Profiles
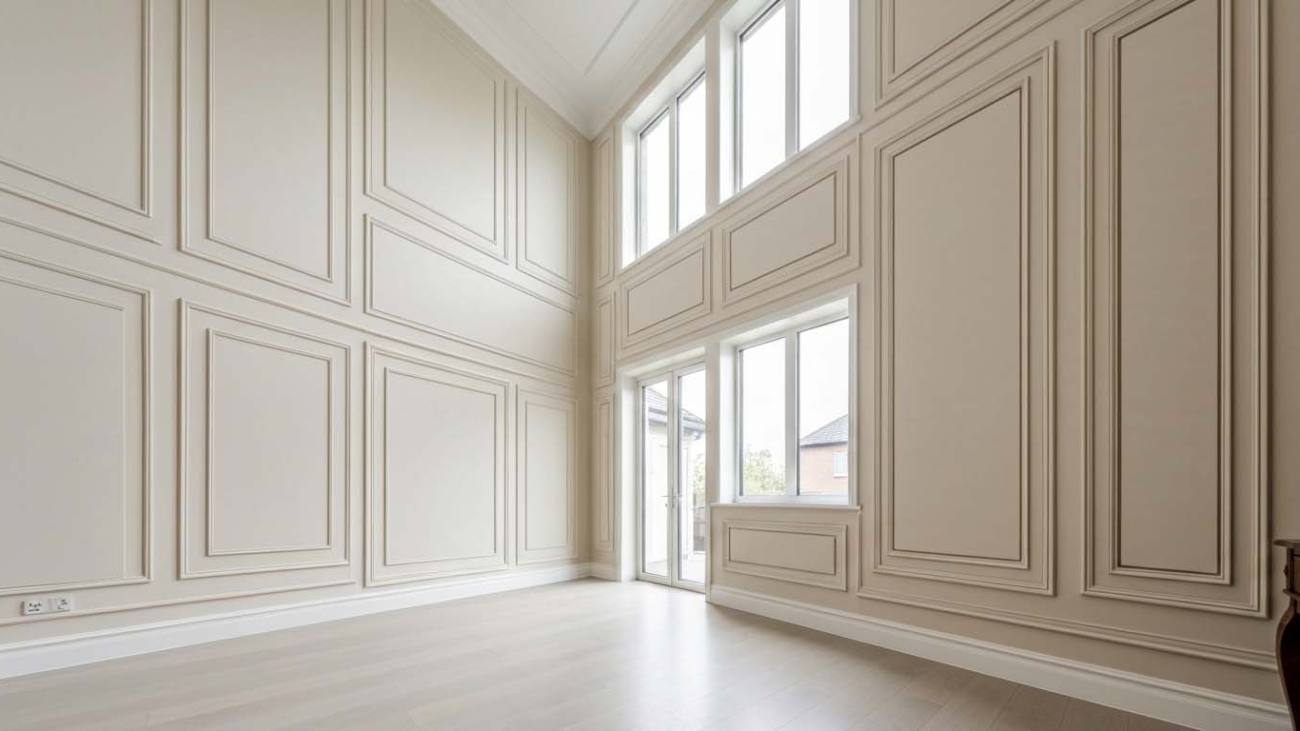
Wainscoting is still a favorite with designers, and you will see it in 2025 with more bold, raised edges. This kind of wall paneling goes near the bottom of the wall. It adds architectural details and gives the room a classic feel. It also makes walls more sturdy, which is good for the coming years. Wainscoting works well in places that people use a lot, like halls and dining rooms.
The main difference between wall molding and paneling is that paneling covers more space. Wall molding goes on top to help make patterns. A modern wainscoting looks good with picture moulding, especially near a living room fireplace on the upper part of the wall. When you use both, the living room feels like it has layers and looks nice. These classic details add warmth and bring a feeling of tradition to your home. Small spaces are perfect candidates for these types of elegant touches.
In a dining room nearby, wall trim such as wainscoting gives the walls a layer of protection. It helps keep the walls safe from marks and bumps. This also gives style to the dining room. When you use wall trim that has a raised part, the look gets more depth and feel. The dining room can feel rich and special. It seems like it was made just for you.
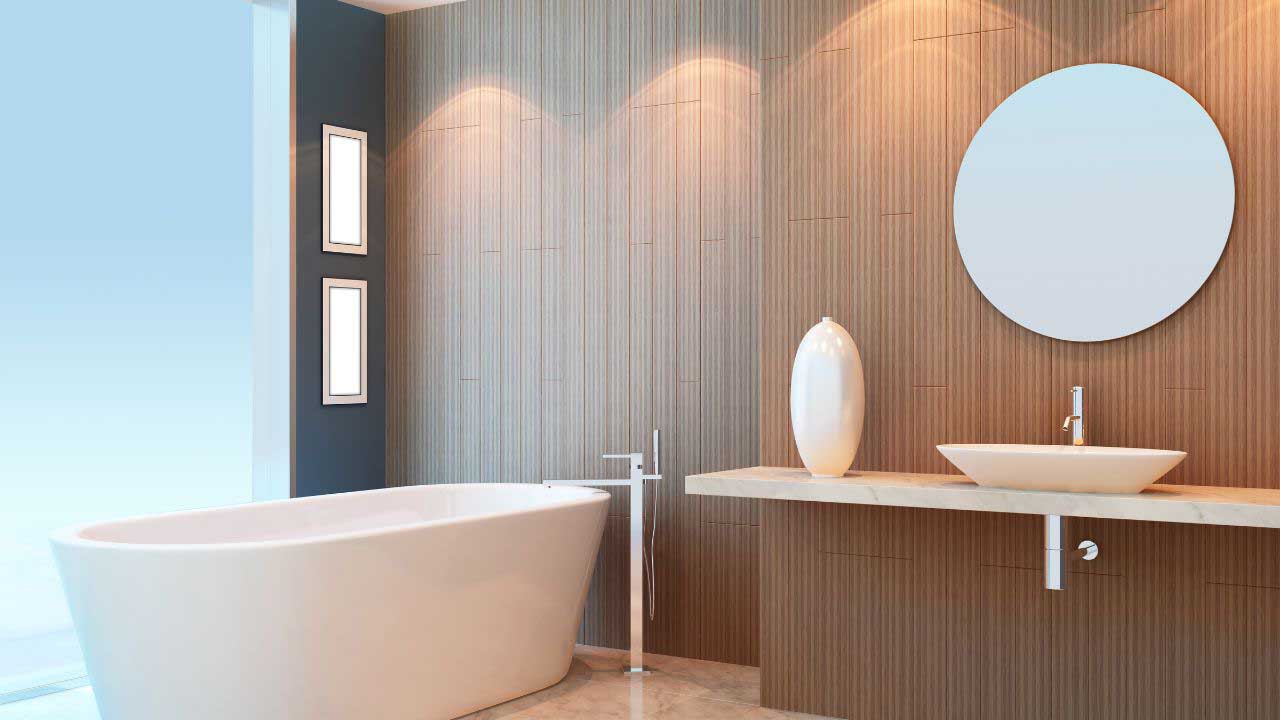
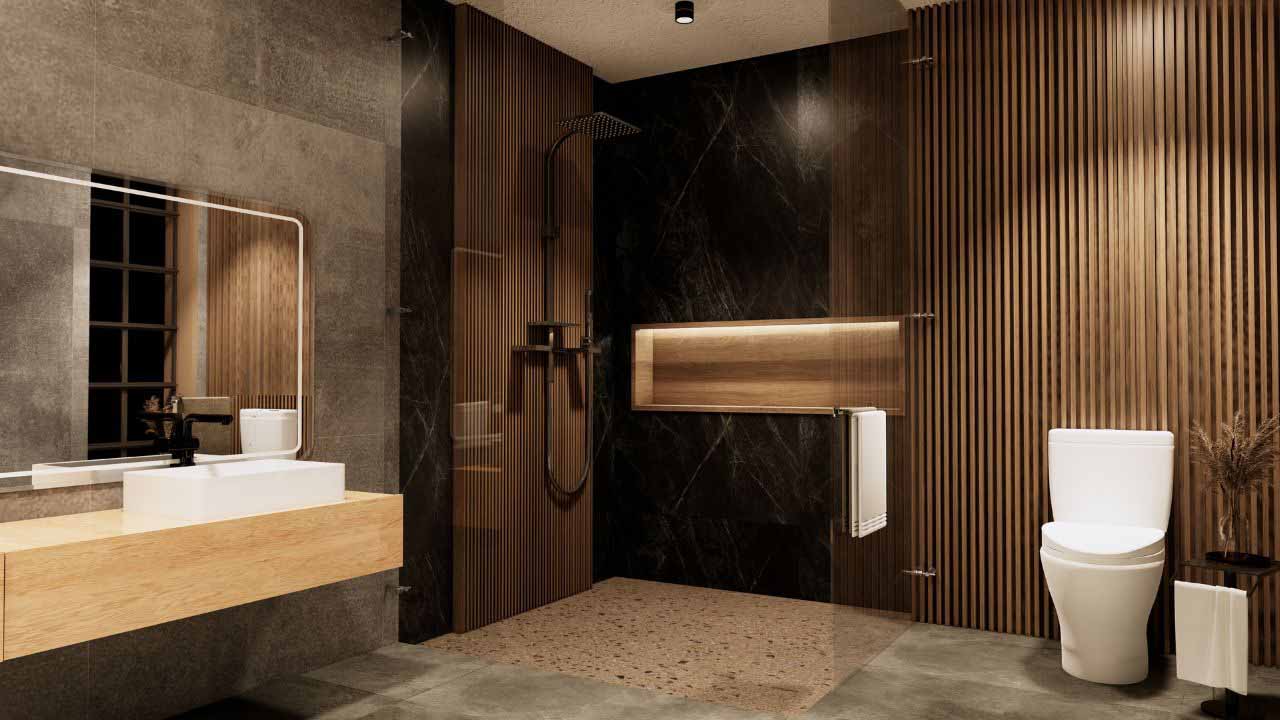
6. Fluted Vertical Decorative Wall Trim Panels
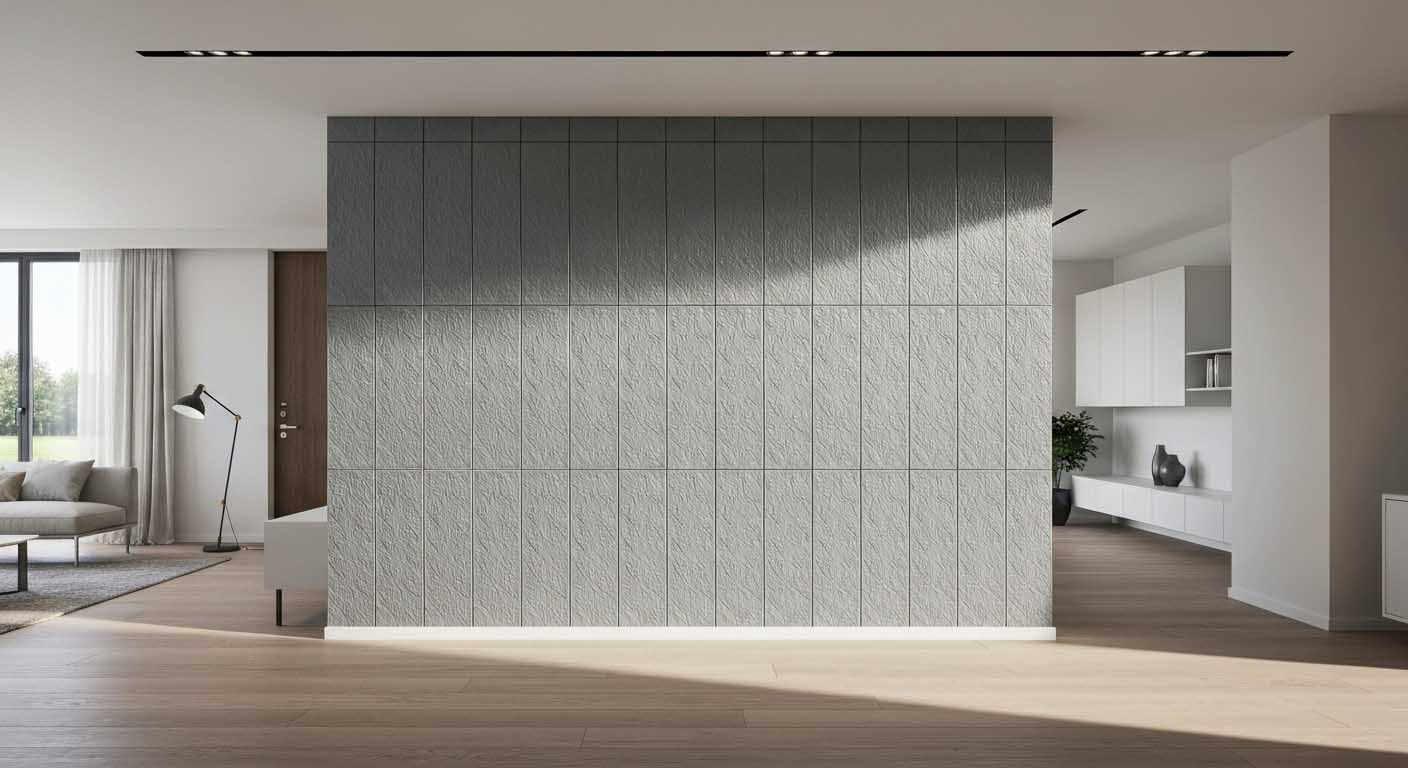
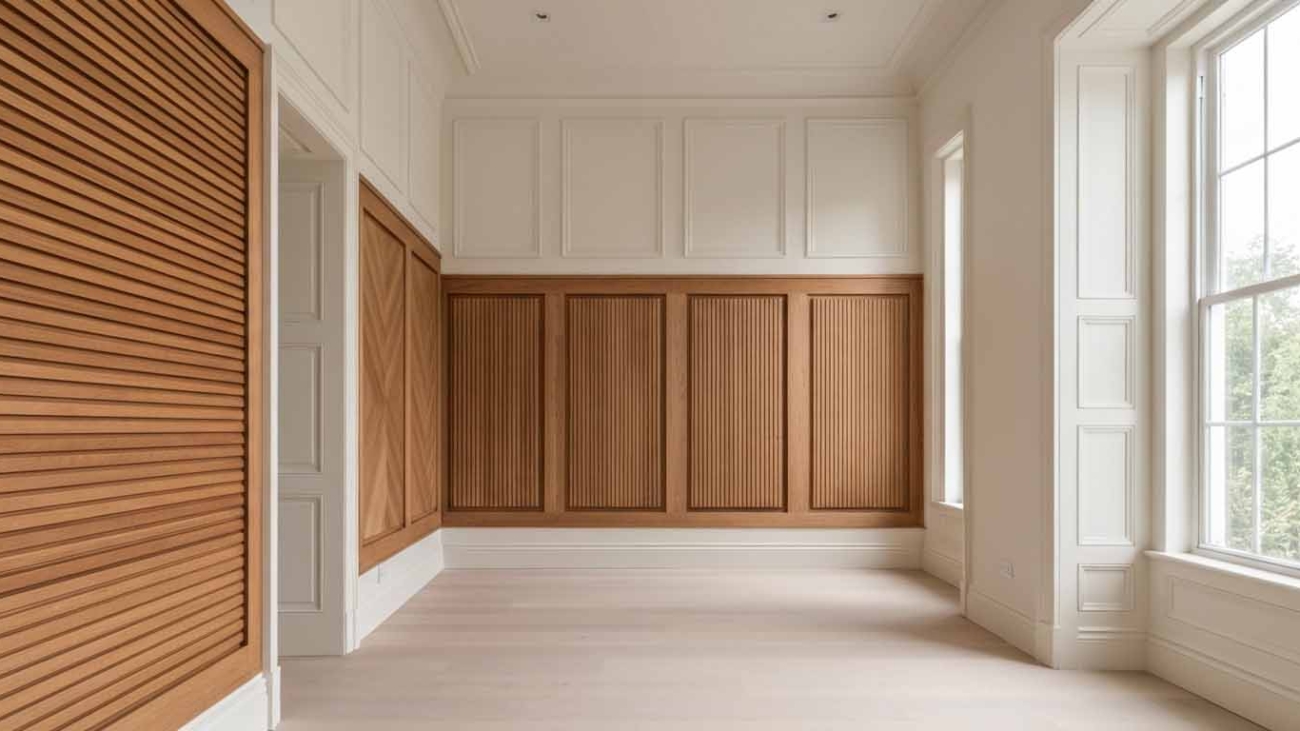
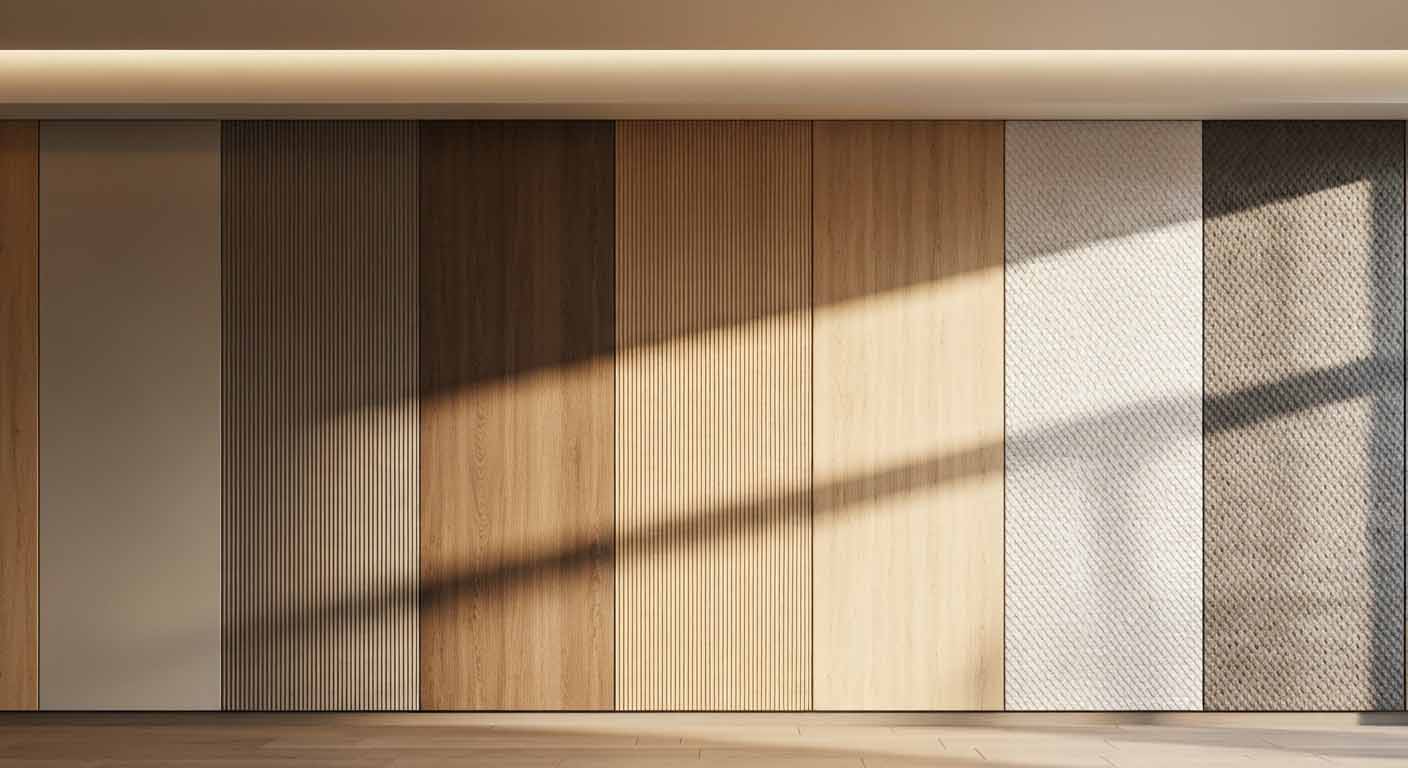
You can give your walls a new feel and look by adding fluted vertical wall trim. This style uses thin lines that are either curved or sharp. These lines go up and down the wall. When you use this style, your walls look taller and get more life all at once, like in one fell swoop. A fluted wall trim panel is a good choice if you want to add a soft but bold style to the living room or entryway.
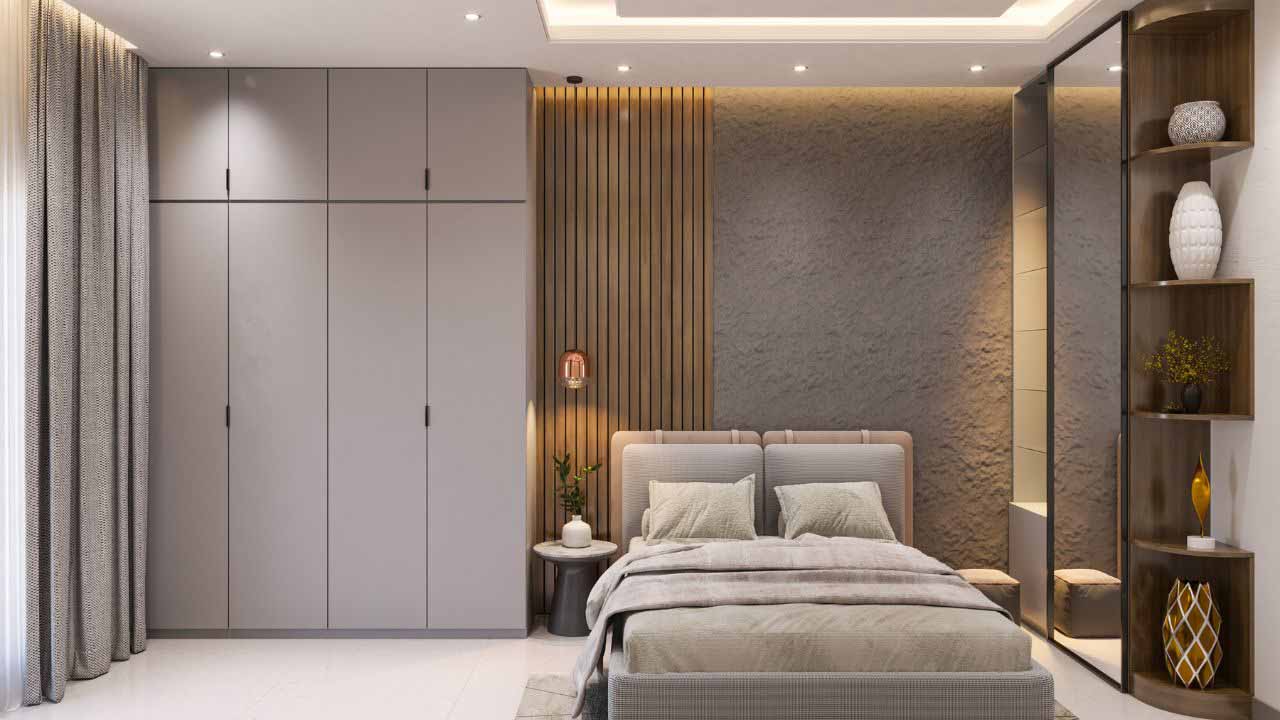
This type of wall moulding is good to use outside your home. You can put it on a whole wall, or use it behind a sofa or bed to make that space feel special. The way the light and shadow fall on the fluted part helps the wall stand out and gives it more visual interest. The wall changes during the day, so it never looks the same for a long time. A lot of people use this in new construction to add something different to walls that might look plain.
Fluted panels are not like the old wall trim you see on many interior walls. They give your wall a fresh and modern feel. These panels look sculpted. That makes them stand out here. When you use them, you can turn any simple room into something special. The space will feel stylish. It will show off its own design idea to people who come in.
Pro Tip: Before & After with Fluted Panels
- Before: The wall by your entertainment center in your Lakewood living room is plain. It looks empty and does not feel like a focal point.
- After: You can use a floor-to-ceiling wall trim with fluted panels. The lines go up and down, making your living room seem taller. The feel and look add depth and give a touch of style. Now, the wall is a strong focal point in your living room.
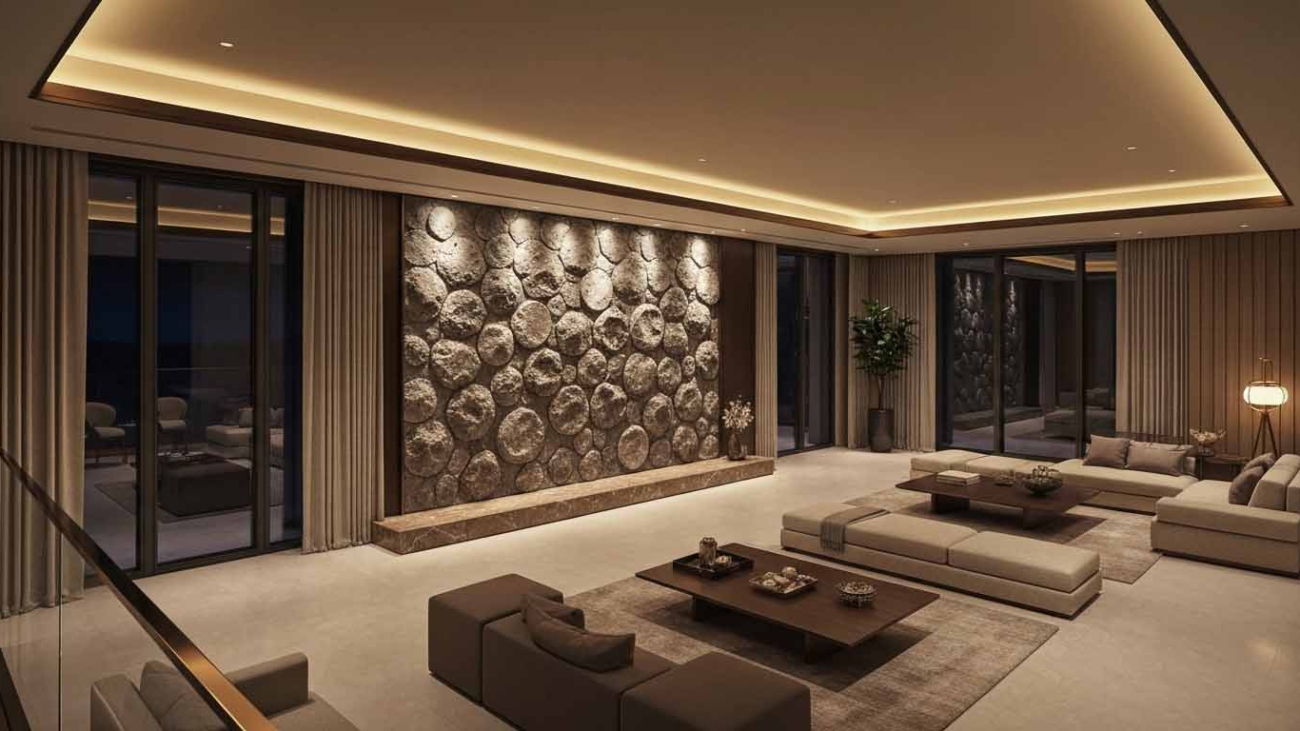
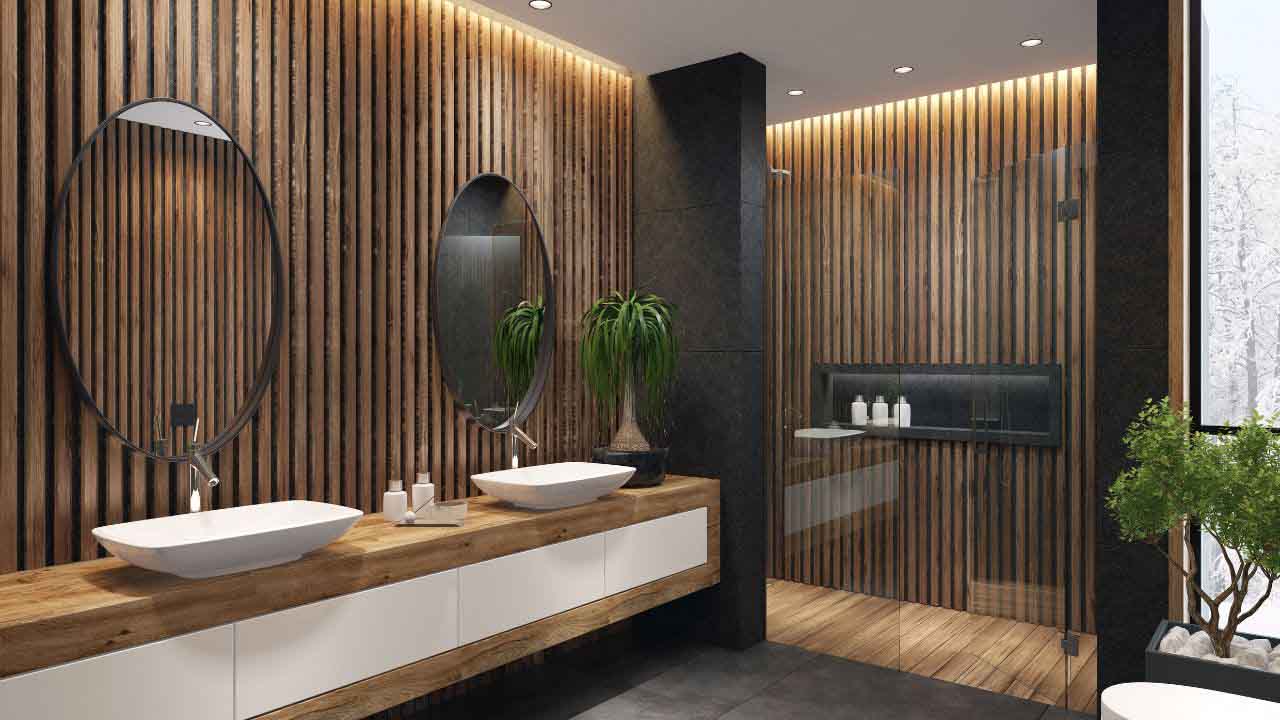
7. Illuminated Wall Panel Trim with LED Accents
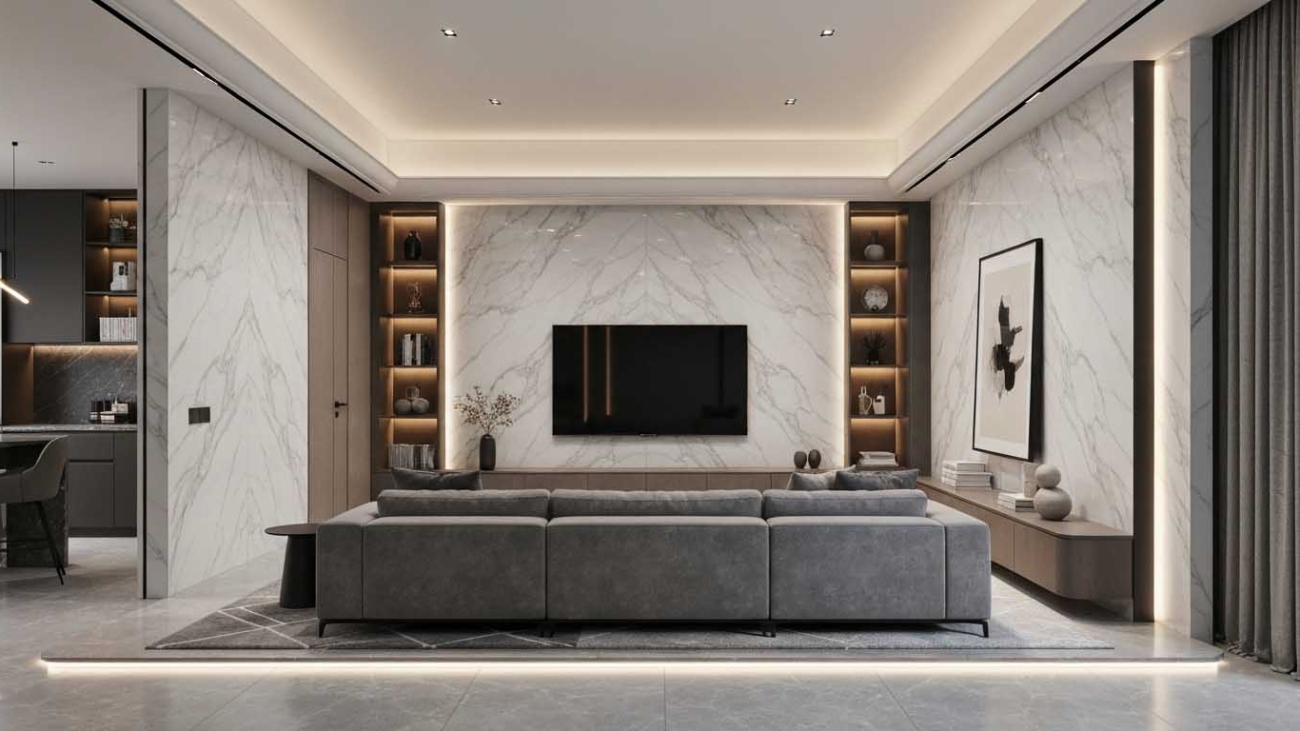
Give your accent wall a stylish look by adding wall trim with built-in lighting. The hidden LED lights shine gently, showing off the wall moulding and the other architectural details in the trim. The soft light highlights the intricate wall moulding, which can make your room feel modern and new. This is a good way to make one wall stand out or add some soft light to your space.
This look blends style and use. The lights in the trim add visual interest and give more light. Picture a headboard wall that glows from the back. A hallway could have lights that go along the baseboards. The feel is new and stylish. It makes your home feel special and gives it a touch that stands out.
If you want to know how to put in pre-cut wall molding kits with LED lights, let people with experience help you. At Panneli Interiors, we have a team that does this work, so wires do not show at all. We make sure the LED lights look smooth and neat. Your wall panels get a new and fresh feel. The luxury wall panels will look their best when the wall molding and LEDs are put in the right way.
Customization and Material Trends in Wall Trim for Lakewood, NJ Luxury Properties

For high-end homes in Lakewood, NJ, one size won’t suit all. People want wall trim and finishes that feel just right for them. They like styles that match who they are. The newest wall trim choices let you make it your own. You can create a look that is special in your place and not like any other. This is what makes luxury wall panels stand out.
Many professional designers and homeowners now want materials that look good and are also good for the planet. A lot of people choose floral wallpaper these days. Eco-friendly options have become a top designer favorite. People like them because they care for the earth and look stylish at the same time. Let’s look at the top trends in wall trim and find out how you can make your place feel more like you.
Bespoke Finishes and Color Pairings for High-End Interiors
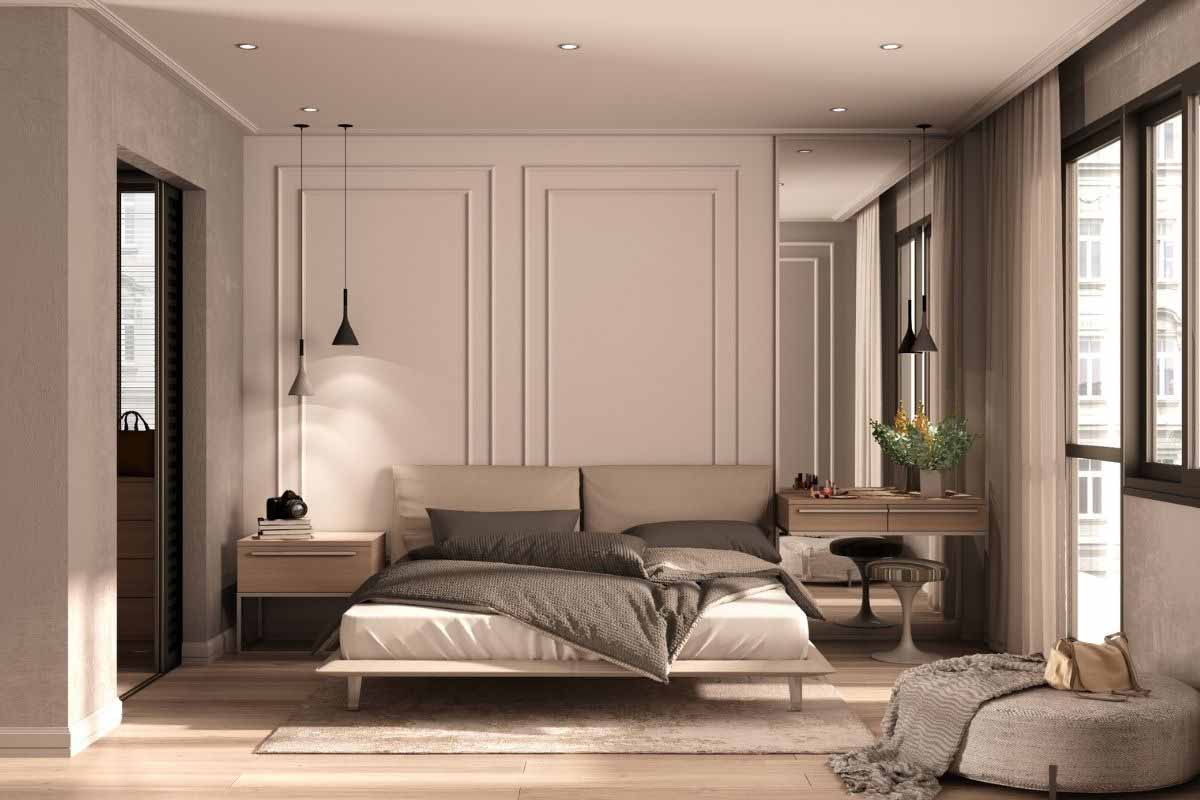
Making a custom look in your home can be easy now. If you use simple touches and choose the right colors, you can change how any room feels. You do not have to use just plain white. Try painting your wall trim with bold colors. Or go with lighter shades that match the walls. When you do this, picture frame molding will really stand out. It can look like a piece of art. A plain wall can feel different if you use this approach. The work may feel like a daunting task for some people. But it will be worth it in the end.
Even spots we do not always notice, like laundry rooms, can feel new too. You only need good, creative wall trim ideas to try. Add a crystal chandelier in there. This can make any space feel good and fancy.
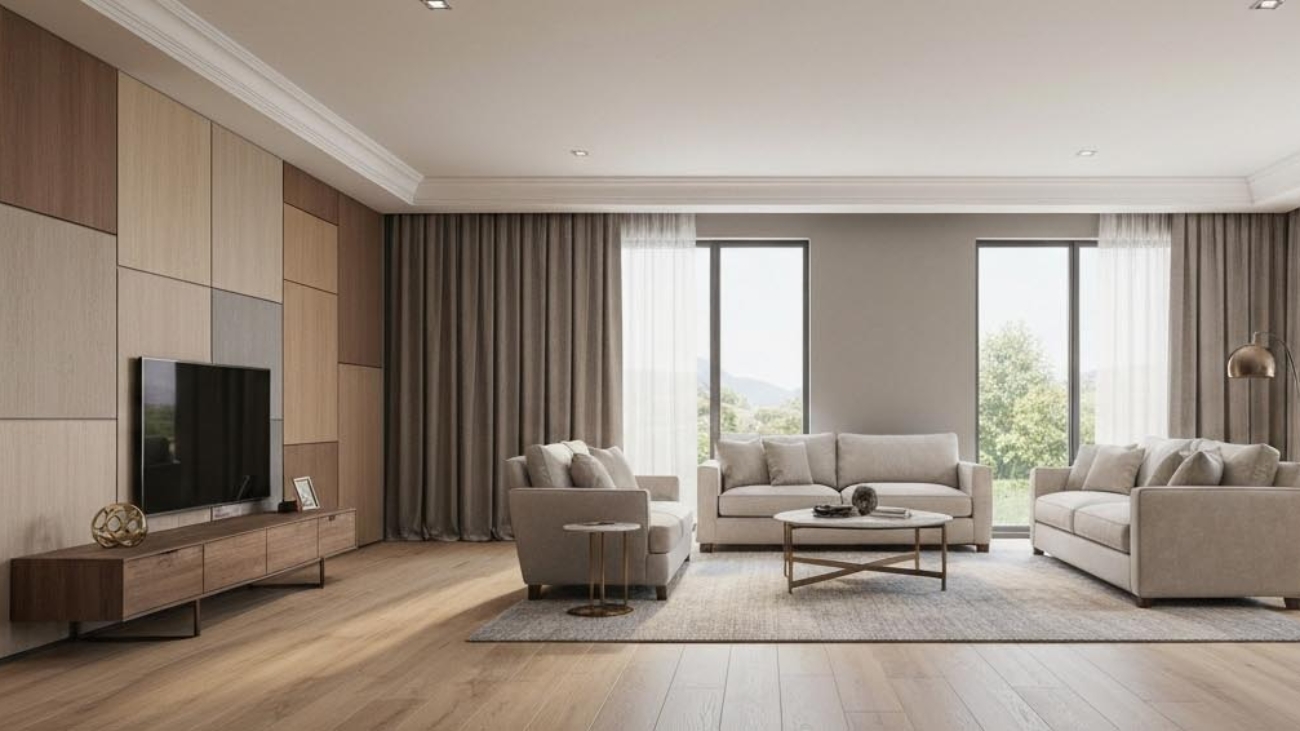
So, what paint colors look good with wall trim designs? This choice depends on the feel you want in the room. If you have dark wall trim with light-colored walls, it will look bold and really stand out. If you use the same color for both the wall and the trim, it gives a calm and simple feel. Mixing wood-look luxury wall panels with painted trim brings in warmth and gives the space a nice feel, since you get more texture.
Here are some color mixes for wall trim that many people like:
|
Wall Color |
Trim Color |
Interior Style |
|
Soft White |
Deep Charcoal Gray |
Modern & Dramatic |
|
Light Greige |
Crisp White |
Classic & Timeless |
|
Sage Green |
Same Sage Green (different finish) |
Serene & Monochromatic |
|
Navy Blue |
Warm Brass (Metallic Inlay) |
Bold & Glamorous |
Sustainable Materials and Eco-Friendly Wall Panel Trim Solutions
You do not have to pick between having nice things and being good to the planet now. People in Lakewood, NJ, look for new builds, and they want to update their homes using things that help nature. Our wall panel trim choices are friendly to the earth. All the materials we use are good for the planet and last long. You will get a real wood style but not harm the environment.
These new wall trim materials are nice and can last a long time. They don’t get damaged easily from general wear. You find them to be practical to use in your home. These trim pieces have the style you see in traditional wall trim. But you will see they are much easier to take care of. You will find they are one of the more affordable options. When you think of the long-term use, they give good value because their look stays good as the years go by. If you want to read our official breakdown of these wall trim materials, read on.
Expert interior designers say these ideas give you nice style and useful benefits. When you pick eco-friendly luxury wall panels and wall trim, you make your home feel better and healthier. This choice also helps the planet. You can still have good-looking wall trim and designs when you make this smart change.
Conclusion
The world of wall trim is changing fast. In 2025, you will see many new styles. You can pick from fancy crown moldings or simple shadow gaps. The choices are for both looks and feel. A good wall trim helps your rooms feel nice, especially in Lakewood, NJ. The often uneven joint between the wall and the floor is important there. You get to pick custom features, use green materials, and find designs that fit your style. This will make your home look good. You also feel proud of your place. If you want to make your home better, remember that a good wall trim can change it a lot. When you feel ready to look at the new styles, you can ask for a quote for your luxury property.
Frequently Asked Questions
What types of wall trim are best for adding character to luxury spaces?
If you want to add more style to a room, use wall trim with strong architectural details. Crown moulding brings a grand feel to the space. Use wainscoting for a classic and neat look that lasts over time. A geometric wall molding can help an accent wall stand out.
You can also try picture molding or picture frame molding with crown molding. These will break up empty walls and make them feel classy and fancy. These simple ideas help to give the room a new look without much effort.
How can I choose the right wall molding style for my home in Lakewood, NJ?
To choose good wall molding for your Lakewood home, you need to look at how your home is made and what you like. If your home is modern, you will want simple styles like shadow gaps or metal lines. A classic home will look nice with wainscoting. This makes a cozy home office feel even warmer. Our interior designers also know about many different styles, so they can help you pick the right wall molding for your living room or any other room in your house.
Are there affordable wall trim options that still look luxurious?
Yes, you can have a high-end look without paying too much. One good way to do this is by adding wall molding to a blank wall. Simple picture frame molding can make it stand out. Many people like wall panels that look like wood. Our personal favorites are the luxury wall panels with a wood effect. They are strong and feel expensive, but the price is good. You get a luxury feel without spending a lot.









 While the
