Key Highlights
- An LED panel wall can transform the look and feel of a space. You can put a video wall in any new or modern room. This makes your place look fresh and stand out from the others.
- When you add an LED panel, it’s essential to be aware of the pixel pitch. A smaller pixel pitch gives you better clarity for your images. It also makes the LED video wall look sharper and gives you good resolution.
- Luxury wall panels are made for special and high-end areas. They are strong, use less power, and last longer than other displays.
- A video wall can be set up to fit any room or style, for houses or nice offices. The price of an LED panel wall changes based on size, image clarity, and whether it is hard to set up. A simple LED panel wall can cost from $10,000 to $250,000 or more. A good service partner will listen to you and help you from start to finish, until your video wall is set up right.
- A full-service team takes what you imagine and makes it real. They help you every step, starting from early ideas to the final look.
- LED signs and displays can light up your space in a new way. If you want your LED video wall to feel like a theater with impact or if you want sharp signage for your store, LED helps you have the feel you want.
Introduction
Your walls do more than hold up your house. The walls can show off your style and talk about your life. You can use a video wall made with a custom LED panel if you want to change the look of your room. An LED video wall helps turn a plain part of your place into something people want to look at. A good LED video wall does more than add color. It gives you a clear and strong visual experience. With clear LED, every detail stands out. A video wall helps you feel happy about your space and keeps the area looking modern. If you want, you can check out video wall brands with LED, like Samsung The Wall, LG LED Video Wall, Absen LED panels, and Planar LED video wall systems. These brands work well when you need clarity, new LED updates, and a video wall that works with your space.
Best LED Wall brand? : r/VIDEOENGINEERING
When considering the best LED wall brands, options like Samsung, LG, and Barco consistently come out on top. These manufacturers offer high-quality visuals, durability, and innovative technology suitable for both commercial and residential spaces. Their products ensure vibrant displays that enhance any modern interior design featuring LED panel walls.
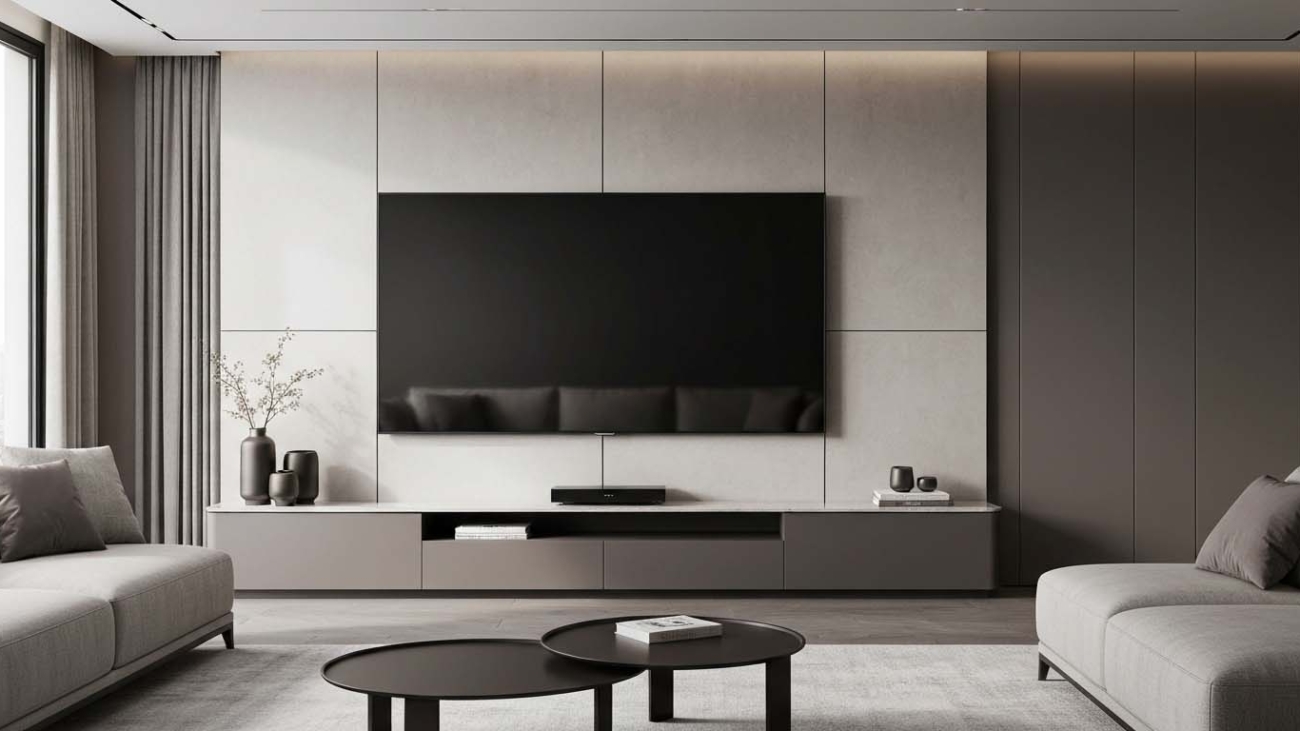
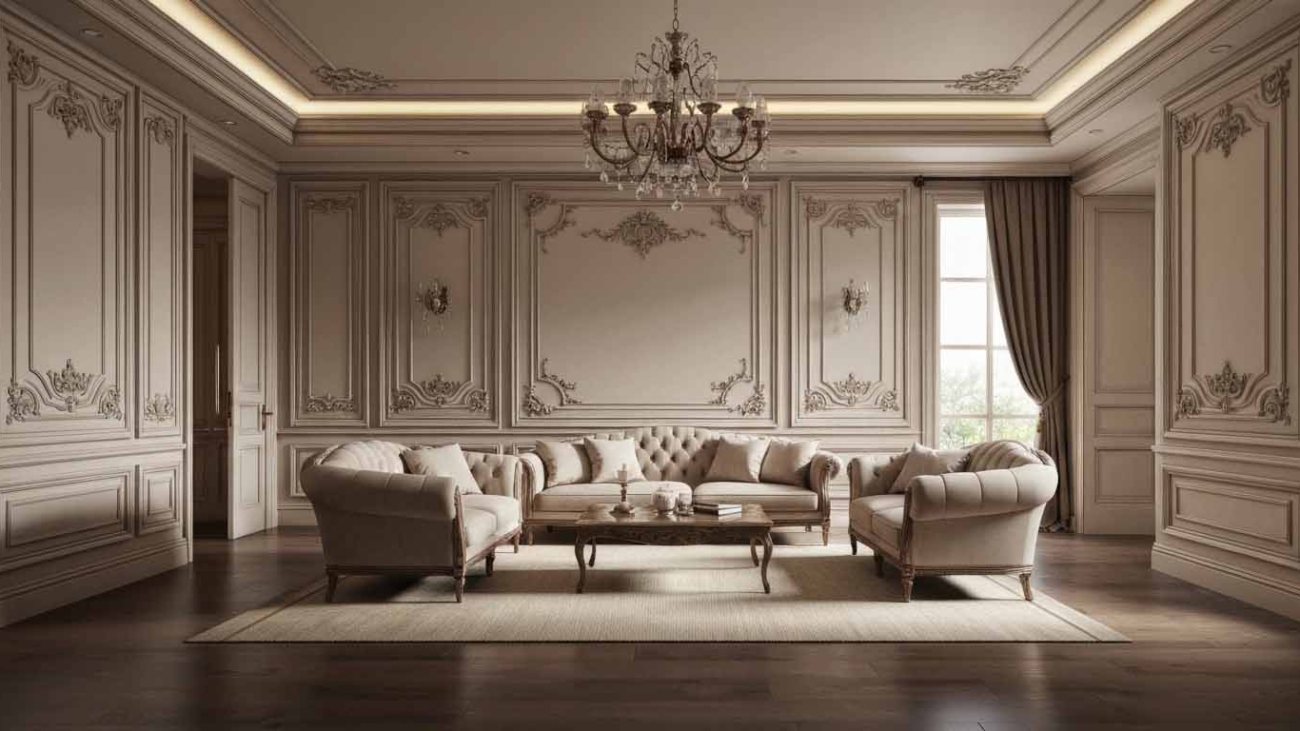
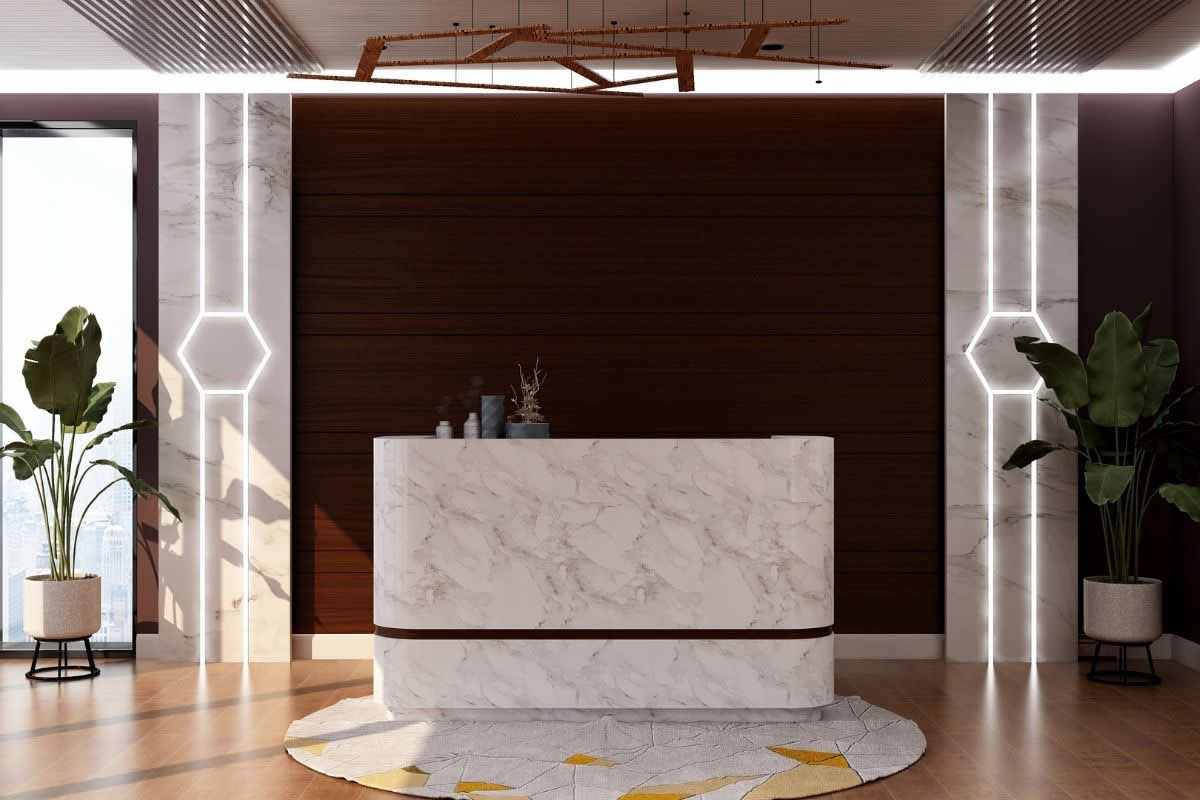
Understanding LED Panel Walls in Modern Interior Design
An LED panel wall is a big screen that comes from putting several LED screens or modules together. These modules join in a way that there are no spaces or lines showing, unlike when you use a TV wall. The LED panel makes the picture very clear and smooth. You can make the image any size you want, and you can change the aspect ratio if you have to. This way, you always get a strong and clear image for any use.
This technology lets you show things in very sharp quality. You can use it to display digital art or live video feeds. The colors and brightness are both very good. This is more than just a regular screen. It becomes part of the feel in the room. The way you see the space can change depending on your viewing distance. You can also add audio to make your experience better.
I want to talk with you about what makes these LED displays not be the same as other screens. When you go online to buy an LED panel wall, there are some things you should look at. Check the display resolution and see how bright it gets. Think about the size of the panel and see if it fits well in your space. Look at how easy it is to install. The LED panel should have good color and must connect well to other devices. This choice matters for how the LED works with everything. Also, check if you can add to your system later, if you want to grow it.
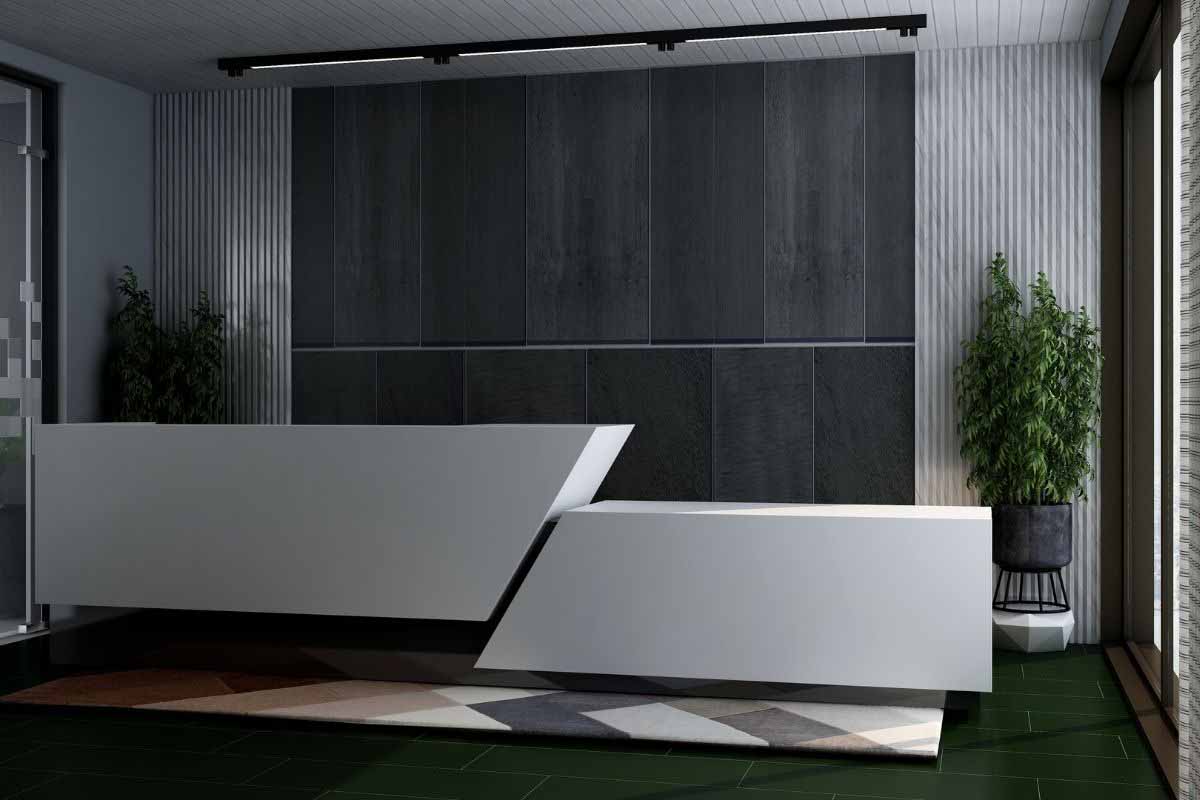
What Sets LED Wall Panels Apart from Traditional Options
When you put a led wall next to a big TV, you will see the difference right away. A TV is only one size, and you can see the frame around the screen. An LED wall does not have a frame like that. An LED wall is made with small LED panels. You can fit these panels together to make the LED wall as big as you want. This helps you get a smooth picture with nothing cutting through it. An LED wall looks good and helps people feel more inside what they see.
If you want to get a good LED wall, LED panel, or TV from the top brands, there is a simple way to do it. Talk to people at a trusted audiovisual store, or speak with their experts. They know a lot and give good help. They sell real name brands that you can trust. When you ask for advice, they can tell you which LED wall, LED panel, or TV will work well for your place. If you need it, these experts can help set it up in your home or office, too.
The clarity you get from an LED wall is why many people pick it. These LED wall panels are much brighter and have better contrast than a tv. You will see good visual performance, even if there is lots of light in the place. A TV can look washed out in bright light, but an LED wall will not. New technology like MicroLED and Chip-on-Board (COB) lets these luxury wall panels give even better visual performance. A normal screen can not do what these luxury panels can do.
These systems last for a long time. The LED wall and LED panel are strong because they are made for business use. An LED panel wall can run all day, and you will not have any problems with it. This makes it a good choice for nice homes and businesses in Lakewood, NJ. With these luxury wall panels, you get more than something that just looks good. You get something that will keep working well for many years. An LED wall is a smart way to add some luxury and know your wall will last. You can trust its durability.
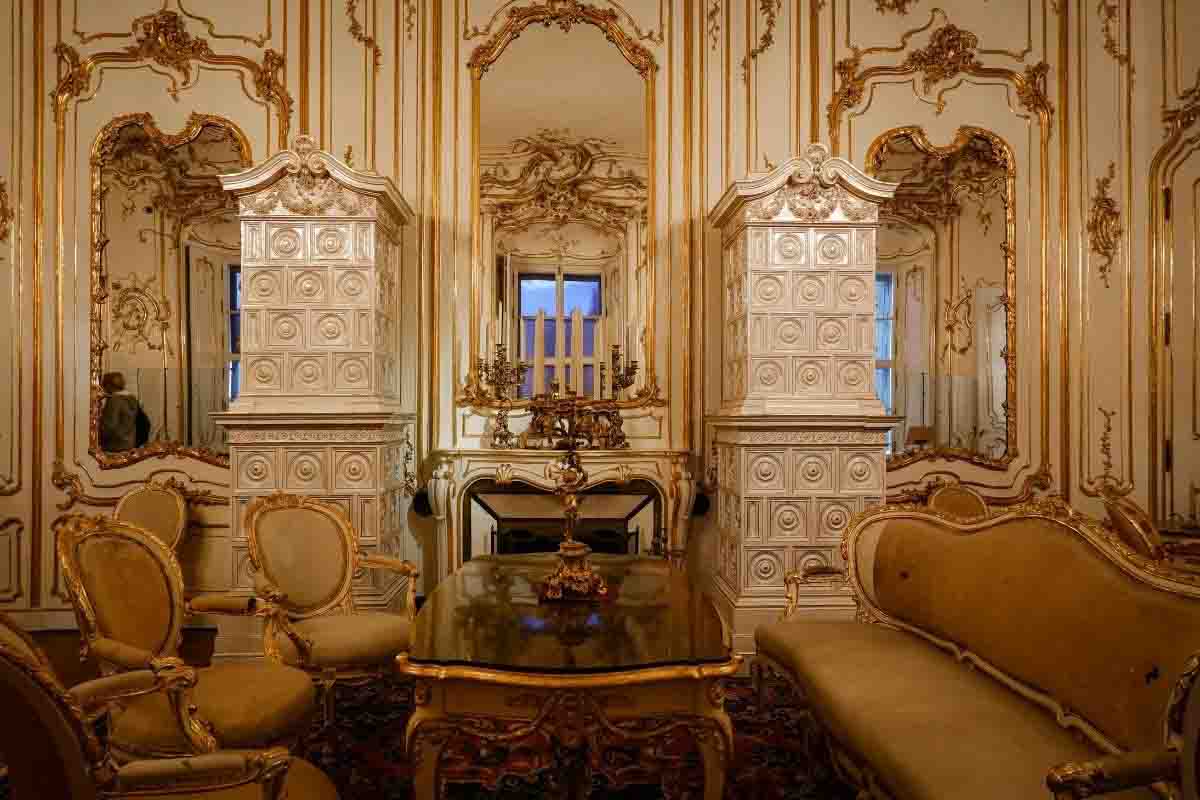
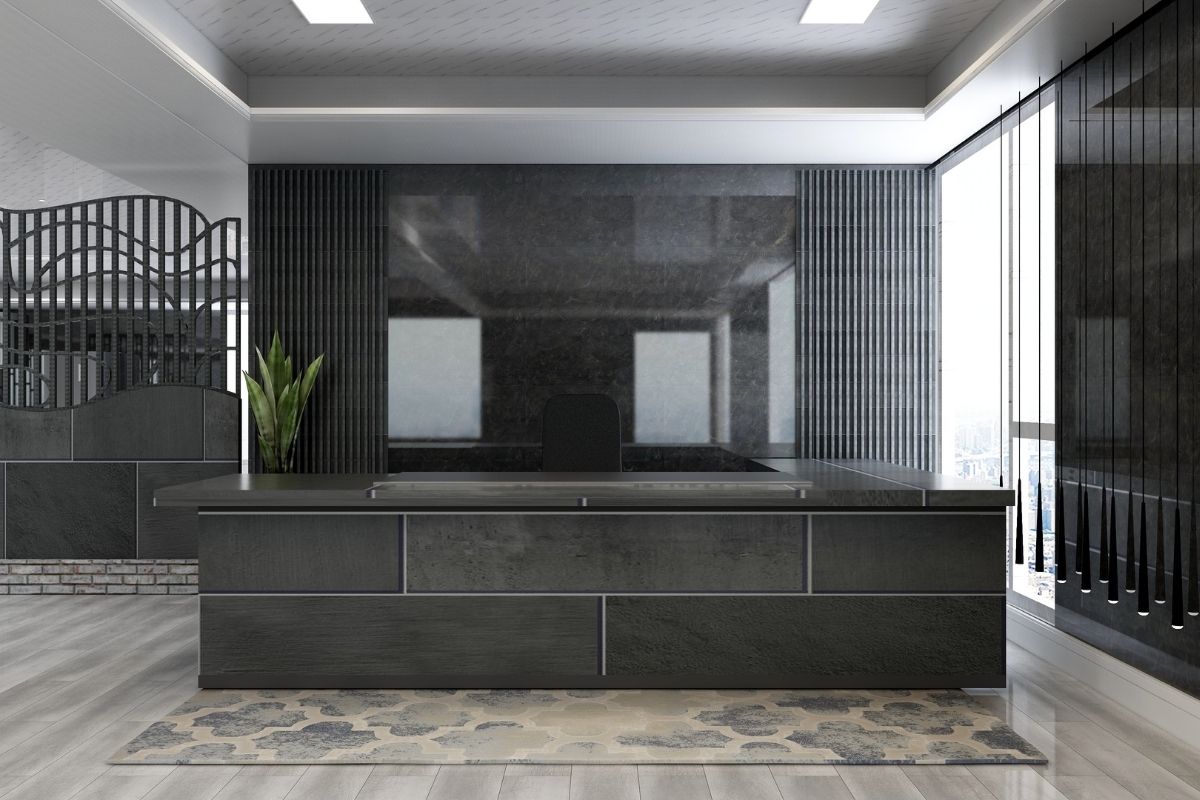
Core Features and Technology of Luxury Wall Panels
When you choose luxury wall panels, you should learn about the important things in technology. One of the main things to check in a video wall is the pixel pitch. Pixel pitch tells you how far the pixels are from each other. A smaller pixel pitch means the pixels are closer together. This makes the LED video wall look sharper. A small pixel pitch also lets you have a good viewing experience, even when you stand close to the screen. That is why a fine pixel pitch LED video wall is good for indoor spaces where people are near the screen. A luxury LED video wall gives you high pixel density, sharp images, and the best viewing distance for a great result.
The refresh rate tells you how often the picture on your led video panel changes each second. A higher refresh rate, like 3840Hz, makes motion look smooth and clear. This is good for video and camera use. Having good connectivity is also important. A professional-led video panel lets you connect with hdmi and DVI. This way, you can easily set it up with your media devices.
To get good visual performance from your LED panel wall, the main things you need to check are. At Panneli Interiors, we help you choose the right LED panel in Lakewood for what you want.
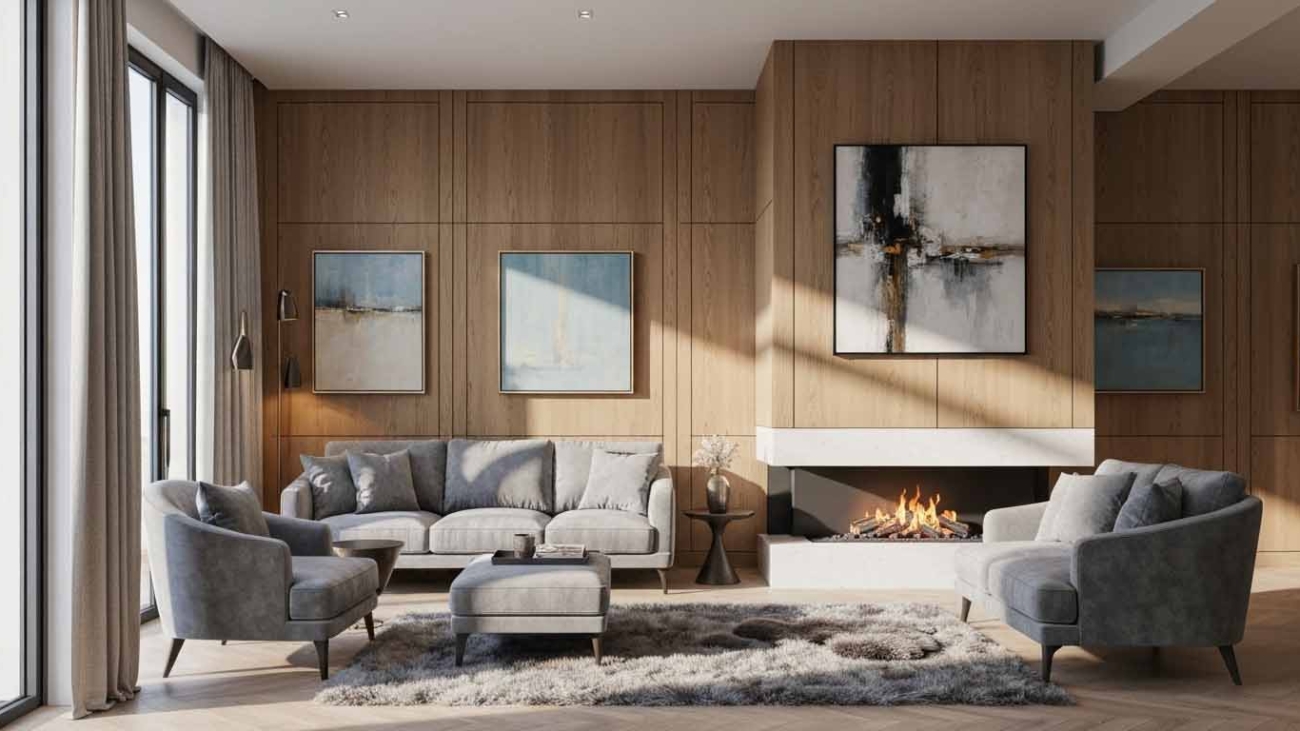
Benefits of LED Panel Walls for Upscale Spaces
Many good things come when you set up an LED panel wall. A bright screen is one thing you get. This LED system can help your user experience a lot. It can change the feel of the room, too. In a luxury home, you will have a good home theater with this LED panel. You can show art on the LED that changes with your mood.
In hotels and stores, LED products help you talk to people and make your brand stand out. You can use LED for signage or virtual production. It is good for event backdrops that many people will remember. A good LED panel can make your place look and feel nicer. It also helps things run better. Next, let’s see how LED can make a space feel right and why it can be a good way to use your money.
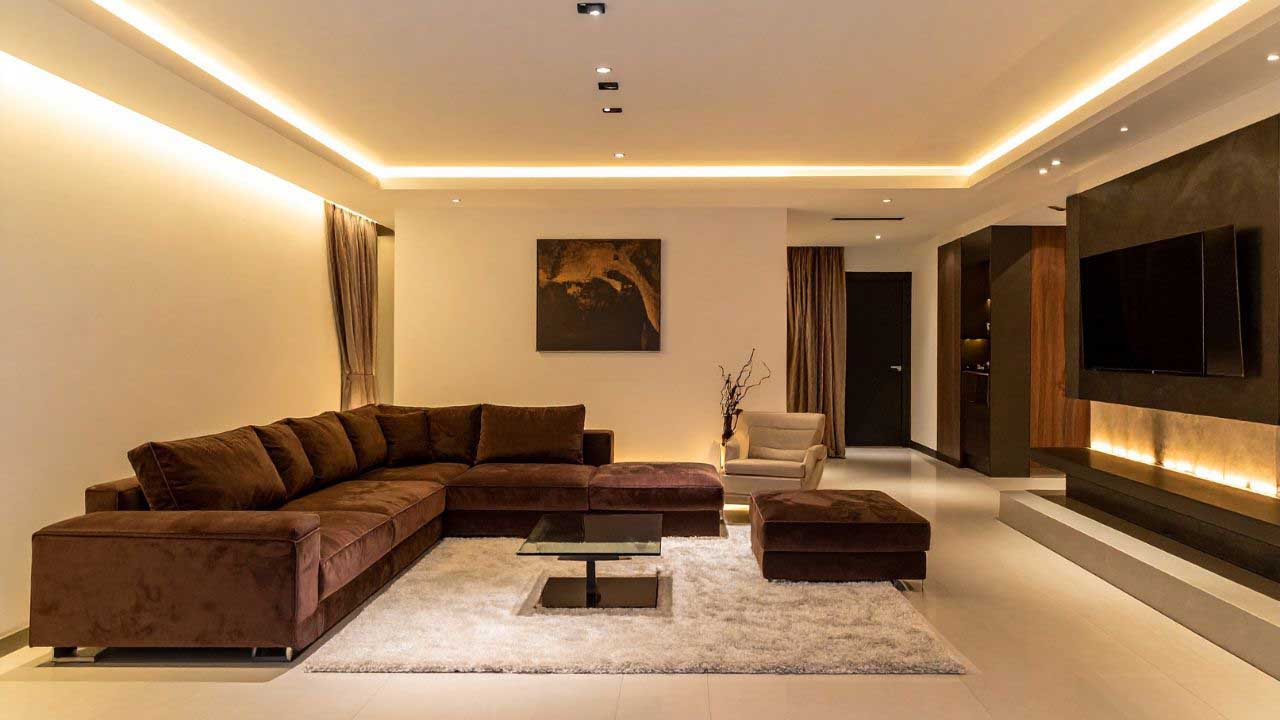
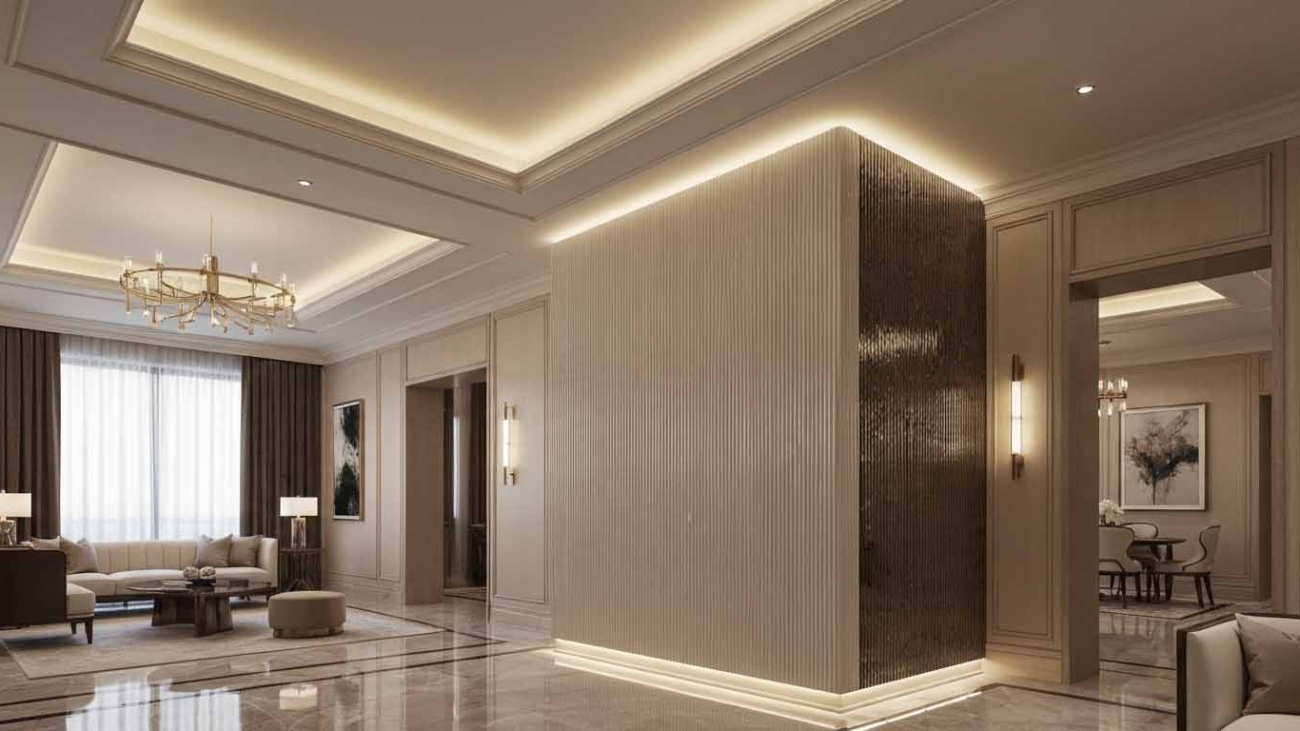
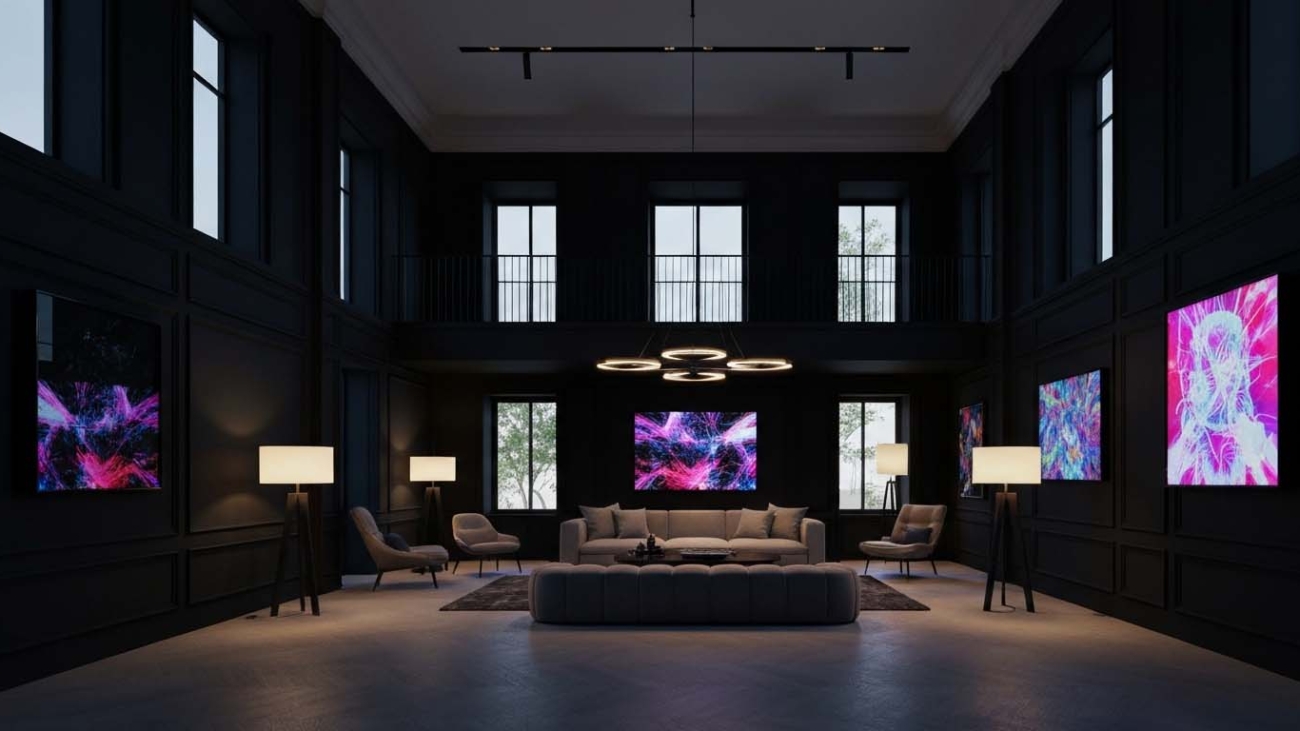
Enhancing Ambiance with LED Wall Lighting Panels
The right lighting can change the way you feel as you walk into a room. An LED wall with bright LED panels takes this feeling to the next level. An LED panel does more than just light a place. It helps you change the mood and look anytime you like. For example, you can turn your living area into a cinema with just a change of the lights for movie night. An LED wall makes this easy to do. You can get the lighting you want with just a touch. This shows what an LED panel can give your home and how it lets you make things even better.
This technology helps you set the mood you want. You can use calm nature pictures, show bright art, or display high-end branding. It boosts the visual experience. For businesses in Lakewood, this is a good way to make a strong first impression when people come into the lobby. It also lets you use signage that stands out and gets people’s attention. This can help bring in customers. There are many things you can do with it.
An LED panel wall can be used to:
- Make your home feel like a cinema. Get that real showtime feel.
- Show moving digital art in the lobby. You can do this at home or at work.
- Give bright and clear signage with digital screens. This is good for stores and places to eat.
- Set up the feel you want for any venue or event space. This works at a restaurant, hotel, or bar.
Energy Efficiency and Longevity: Smart Investments for Luxury Clients

It is good to spend your money on top design. A luxury wall panel, like a led wall, does not just look nice. It is also strong and can last a long time. The LED wall is made with high durability and is ready for steady use. You can use it for up to 100,000 hours. This is much more than what most other things like this can do.
Because the LED wall works for so long, it is a good choice for your plan. These luxury wall panels are not just about style. The LED wall is a smart option. It is tough and stays looking nice after many years. If you want something new, strong, and classy, the LED wall is a great pick. It gives both luxury and durability.
Modern LED panel wall systems last for years. They use less energy, so you get to save money. A lot of LED panels need only about 60 watts each. This helps bring down what you pay to run them. Even with low power use, you get bright HD screens. The best thing is, these LED systems fit well in your luxury home or business. They help make your place better for the planet since they use less power.
Panneli Interiors takes care of your LED wall. You get full technical support anytime you need it. All of the parts on your LED panel come with a 5-year warranty. They always put the client first, so you know your money and your LED wall are safe. Having their LED wall can make you feel good and not worry. If you pick their LED panel, it is a smart choice. It will last you many years in your space.
Choosing the Ideal LED Panel Wall for Your Interior
Choosing the best LED panel wall takes some planning. You should look at the size of your room and think about what you want on the wall. Some people say you should go for the largest screen. But that is not always the top choice. It depends on how big your space is and where people will view the LED wall. The viewing distance is something you must think about. It helps everyone get a good visual experience instead of just seeing a big screen. Also, find out what content you want to show on the LED panel. When you pick the right wall with the LED panel, you will give people the visual experience they want. The LED panel will also meet what you need the most.
At Panneli Interiors, we stay by your side from start to end. Our team shows you choices for pixel density and several finishes. We want your LED setup to fit what you want. We handle every detail for you. This helps you pick from the best LED products. Now, let’s look at what is key for size, resolution, and materials.
Size, Resolution, and Style Considerations for Lakewood, NJ Luxury Homes and Businesses
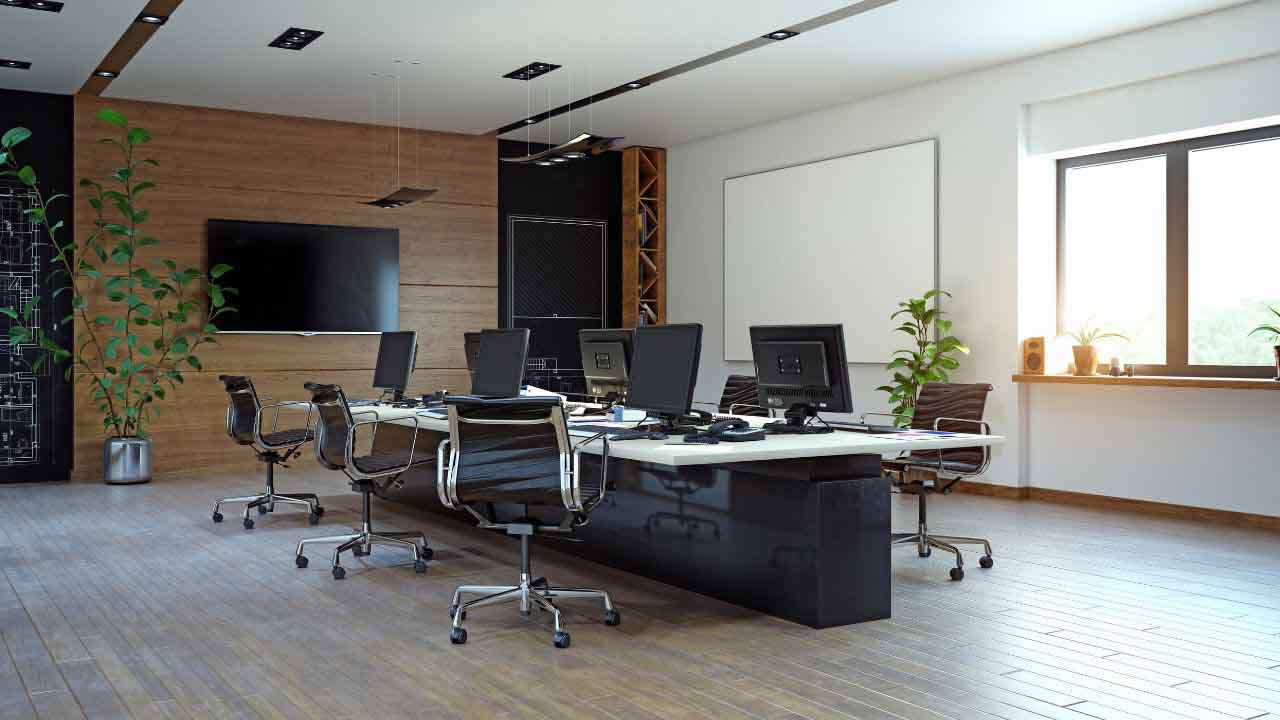
For people in Lakewood, NJ, picking the best LED panel wall starts with checking your space. A big living room may need a large LED panel with good pixel resolution. This is good for you, your family, or visitors. A meeting room at work could use an LED panel with a very small pixel pitch. This helps show or talks look clear when people are near. The size and pixel pitch of the LED panel should fit well in the room.
The most important thing is to pick a pixel pitch that works for your usual viewing distance. A 3.91mm pixel pitch is good if you will watch from 8 to 15 feet away. This is common for many homes and business spots. If you do not pick the right pixel pitch or match the right viewing distance, the picture can look pixelated if you are too close. You could also lose detail when you stand too far. We help you find the right mix of pixel pitch and viewing distance, so you get the best UHD picture in your place.
When planning your LED panel wall, consider:
- Most people use the screen to watch shows, see ads, or look at data.
- Think about how far your family or your audience will be from the screen. Viewing distance matters.
- See how much light is in the room.
- Pick a screen that fits the look and feel of your room. A screen should match these things.
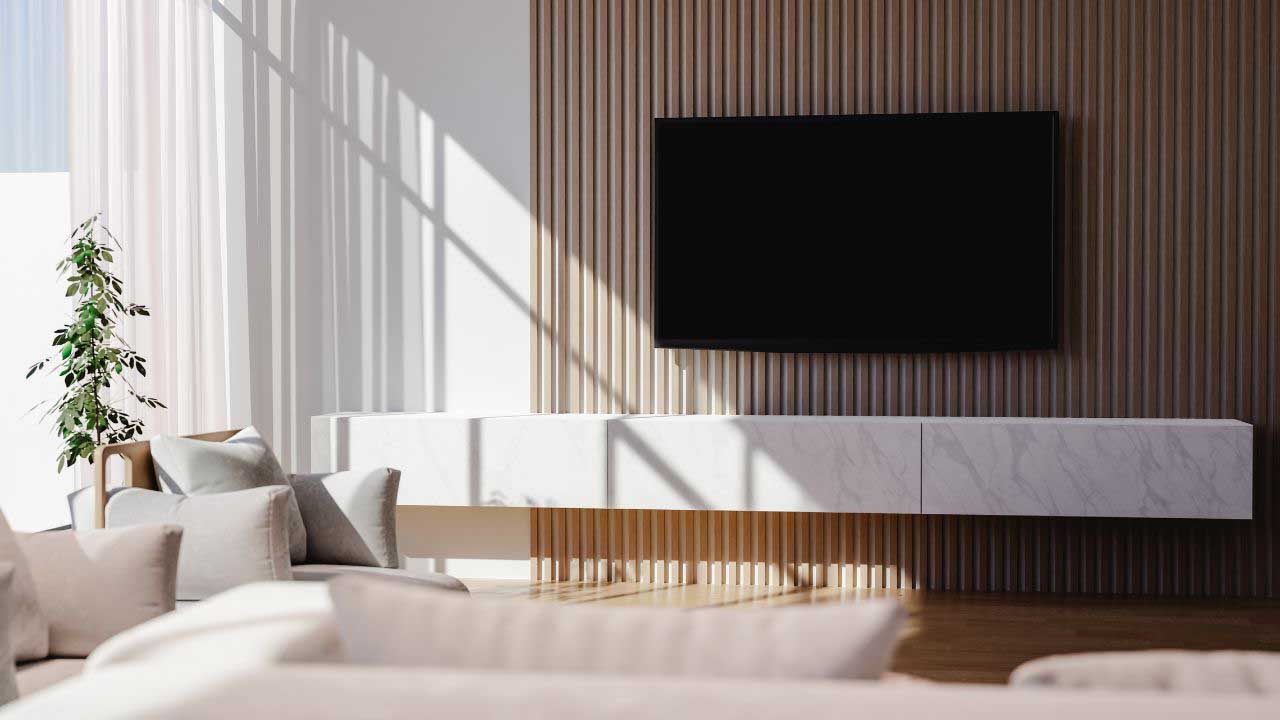
Materials, Finishes, and Customization Options for High-End Modern Wall Panels
A great installation is not just about the screen. The things and feel around your LED wall or LED panel help it fit well in your home or workplace. At Panneli Interiors, we think about new ideas that are just right for you. We use custom woodwork and panels with a wood look. This lets you get match your area. It helps your LED wall to blend in and look good with your home or office.
Our collections give you many ways to get the look you want. You can choose from the feel of our Leather & Fabric Collection, the smooth design of our Metallic Collection, or the feel of our Wood Grain Collection. We have the right materials for your style. This big choice of luxury wall panels helps match your style and makes your space feel special.
If you need an outdoor solution, we have several strong options for you. These products are made to work in the weather. The panels have a protective layer. They also have high brightness, which makes your display stand out.
The Luminate Ultra Series is a good pick if you want eye-catching outdoor displays. We can also make modern wall panels that fit your needs. This is what makes our products stand out.
Conclusion
The LED wall is more than just something new. An LED panel can bring a big change to luxury spaces in modern design. It helps a place feel special. An LED panel uses less energy for the space. An LED wall also lets you choose your style with ease. Using these led panels can change how your luxury home or business looks in Lakewood, NJ.
No matter if you want a bold look or something soft, an LED panel can give that to you. There are many styles, so you will find one that fits what you like. If you want to make a new design, you can ask for a quote just for you. Let us help you add LED and luxury to your place. We want every space to feel good and look great, just like home.