

Wall paneling is one of the most effective ways to transform a plain wall into a stylish feature while adding texture, depth, and durability to your interior. Whether you’re updating a living room, office, bedroom, or commercial space, learning how do you install wall paneling correctly helps achieve a seamless, professional-looking finish that lasts for years.
Although many modern wall panel systems are designed for straightforward installation, proper preparation and the right techniques make all the difference. This step-by-step guide explains the installation process while highlighting important considerations for achieving premium results with high-quality decorative panels.
Decorative wall panels have become increasingly popular across residential and commercial interiors because they combine visual appeal with practical performance. They can instantly elevate a room while protecting walls from everyday wear and tear.
If you’re designing a statement entertainment area, premium feature wall panels offer a sophisticated focal point for modern interiors.
Before beginning your project, gather all necessary tools to ensure an efficient installation process.
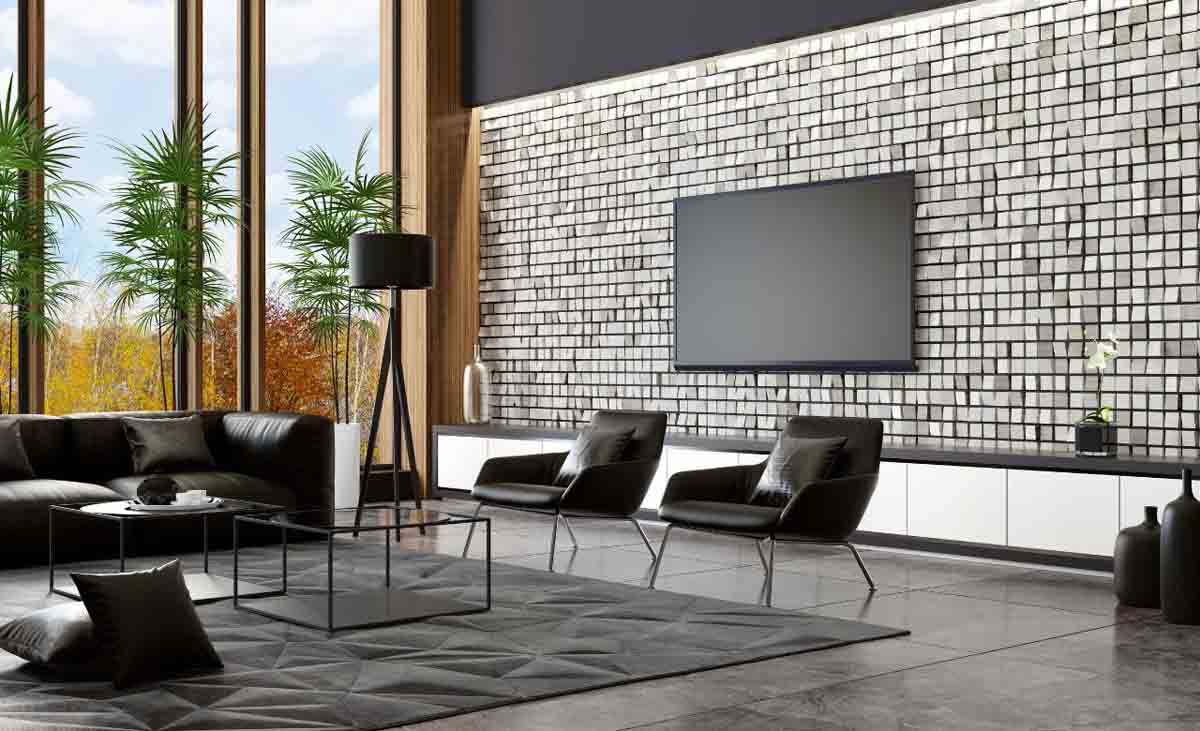
Measure the height and width of the installation area before ordering or cutting any panels. Accurate measurements help minimise waste and ensure each panel fits correctly.
Double-check measurements around doors, windows, electrical outlets, and corners to avoid unnecessary adjustments later.
The wall should be clean, dry, and free from dust, grease, or peeling paint. Repair any major cracks or holes before installation to create a stable surface.
A smooth substrate allows adhesives to bond properly and helps panels sit evenly against the wall.
Lay the panels on the floor first to visualise the finished arrangement. This allows you to position feature sections, align grain patterns, and minimise visible joints.
Planning ahead is especially important for decorative profiles and continuous patterns.
Use a level to draw vertical or horizontal guide lines on the wall. These reference lines help maintain straight alignment throughout the installation.
Even slight misalignment at the beginning can become much more noticeable as additional panels are installed.
Carefully cut each panel according to your measurements using the appropriate saw blade recommended for the panel material.
Always measure twice before making any cuts to reduce material waste.
Apply high-quality construction adhesive evenly across the back of each panel according to the manufacturer’s recommendations.
Some installations may also require mechanical fixings depending on wall type, panel size, or project requirements.
Carefully place the first panel against the reference line and press firmly to ensure full adhesive contact.
The first panel establishes the alignment for the remainder of the installation, making precision especially important.
Continue installing each panel while checking alignment with a spirit level. Maintain consistent spacing where required and ensure joints remain tight throughout the installation.
Many modern decorative systems are designed to create nearly seamless transitions between panels.
For contemporary architectural aesthetics, many homeowners choose elegant fluted wall panels or sophisticated grooved wall panels that deliver clean, modern lines.
Install trims, corner pieces, or finishing profiles to create clean transitions and protect exposed panel edges.
Professional finishing details significantly improve the overall appearance of the completed installation.
Once all panels are installed, inspect the wall for alignment, secure adhesion, and clean joints. Remove excess adhesive before it cures and wipe panels using a soft cloth.
A final inspection ensures the installation delivers the polished finish expected from luxury wall panel systems.
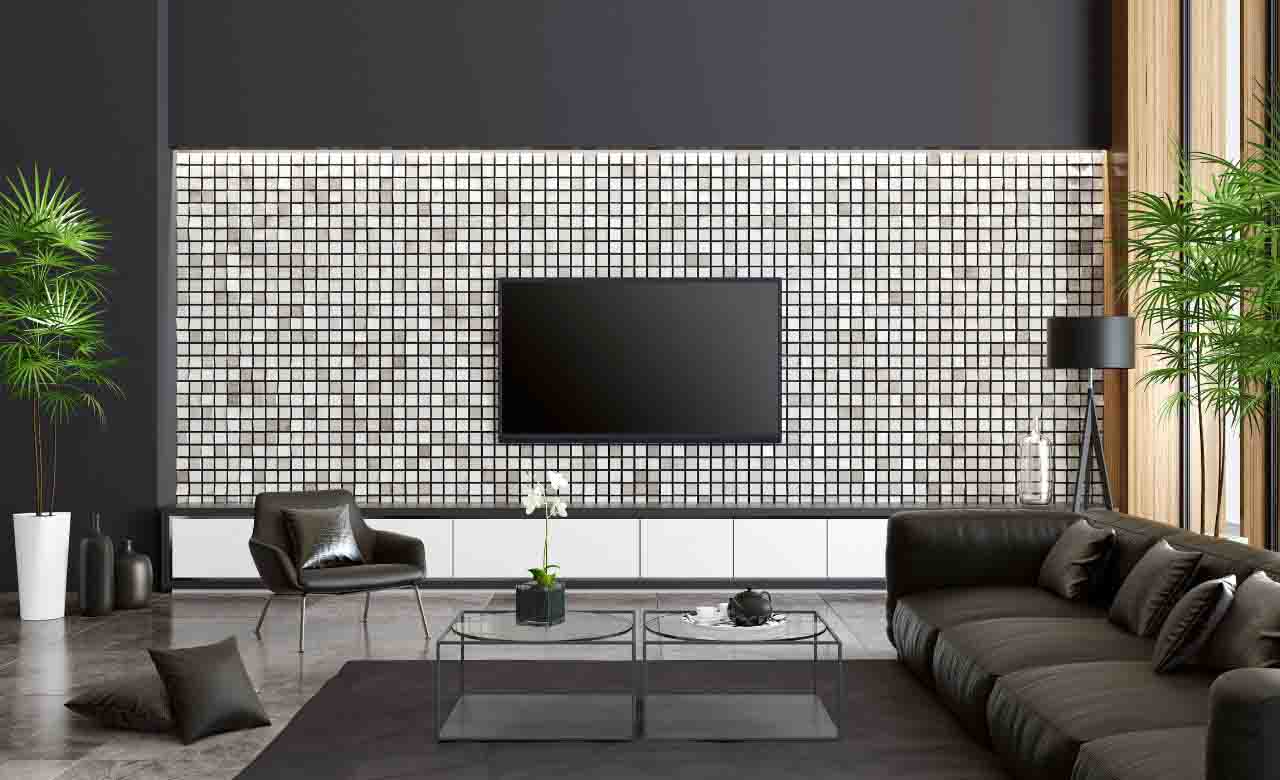
Many decorative wall panels are suitable for experienced DIY enthusiasts, particularly lightweight systems designed for straightforward installation. However, large feature walls, custom profiles, and luxury finishes often benefit from professional installation to achieve the highest quality result.
Working with premium manufacturers also ensures precise panel sizing, consistent finishes, and expert guidance throughout the project.
Selecting the appropriate material is just as important as proper installation. Different environments require different performance characteristics.
| Panel Type | Best Application | Main Benefits |
|---|---|---|
| Wood Decorative Panels | Living rooms, bedrooms, offices | Warm appearance and natural texture |
| Fluted Panels | Feature walls | Contemporary architectural style |
| Grooved Panels | Commercial and residential interiors | Elegant linear design |
| Fiberglass Reinforced Plastic Panels | Moisture-prone commercial spaces | Durability and easy maintenance |
For projects requiring enhanced durability, fiberglass reinforced plastic wall panels provide a practical solution for demanding commercial environments.
Whether you’re renovating a luxury residence or upgrading a commercial interior in Lakewood, NJ or throughout New Jersey, choosing high-quality wall panels makes installation easier and ensures exceptional long-term performance.
Premium custom wall panels combine outstanding craftsmanship with tailored designs, allowing homeowners, architects, and designers to create interiors that reflect their unique vision.
If you’re planning your next wall panel project, contact Panneli Interiors to explore expertly crafted custom wall panels and receive professional guidance for achieving a flawless installation.
Yes. Many decorative wall panels are suitable for DIY installation if you have basic tools and carefully follow the manufacturer’s instructions. Larger or custom installations may benefit from professional assistance.
Use a high-quality construction adhesive that is compatible with both the wall surface and the panel material. Always follow the adhesive manufacturer’s recommendations.
Minor imperfections are generally acceptable, but walls should be clean, dry, stable, and reasonably level to ensure proper adhesion and alignment.
Yes. Many decorative wall panel systems are designed for commercial applications, offering durability, easy maintenance, and premium aesthetics.
Most decorative wall panels only require occasional dusting and cleaning with a soft cloth and mild cleaning solution. Avoid abrasive cleaners unless recommended by the manufacturer.